

Phone OOTD Photography: Light, Camera Position and Editing
Blur, uneven exposure or an awkward camera position can hide a carefully styled outfit. A phone can make useful outfit photographs when you manage light, distance, composition and basic editing thoughtfully; expensive equipment is not a prerequisite.
This guide covers photographing the outfit rather than choosing the clothes. Use the phone you have to improve everyday outfit pictures without an advanced photography setup.

Guide collection: Aesthetic Dictionary: Fashion Style Reference (Vietnamese)
Quick OOTD setup
For a simple starting workflow: clean the lens → find even light → use the rear camera → start at 1x → step back → keep the phone upright → take a test image → adjust before shooting more. This addresses many common problems without additional equipment.
- To show garment shape: use a full-body frame, front or side-front light and an uncluttered background.
- To change apparent leg proportions: adjust camera height and distance before using reshaping tools. Avoid placing the phone very close and tilting it sharply upward.
- For black outfits: protect highlights while checking that folds, seams and layers remain visible.
- For several publishing formats: leave space above and beside the subject for later 4:5, 9:16 or square crops.
Soft, even and directional light
There is no universal best shooting hour. Season, weather, building direction and location change the light. For outfit pictures, start with natural light that is soft and reasonably even: a large window, covered porch, open shade or gentler late-afternoon conditions. Golden hour can be warm and soft, but buildings may change when usable light reaches a location.
Front light makes color and shape readable but can look flat. Light from one side adds gentle shadows and reveals denim, leather, mesh and layers. Backlight can deliberately outline hair or silhouette; check that the face and garments remain adequately visible.
At midday, avoid placing half the body in sun and half in shade. Move fully into a sufficiently large shaded area. Reflected light from pavement, a pale wall or a nearby frontage may be easier to control than direct sun. For black-and-white outfits, inspect both bright and dark areas in a test frame.
Lens, Distance and Camera Height Shape Proportion
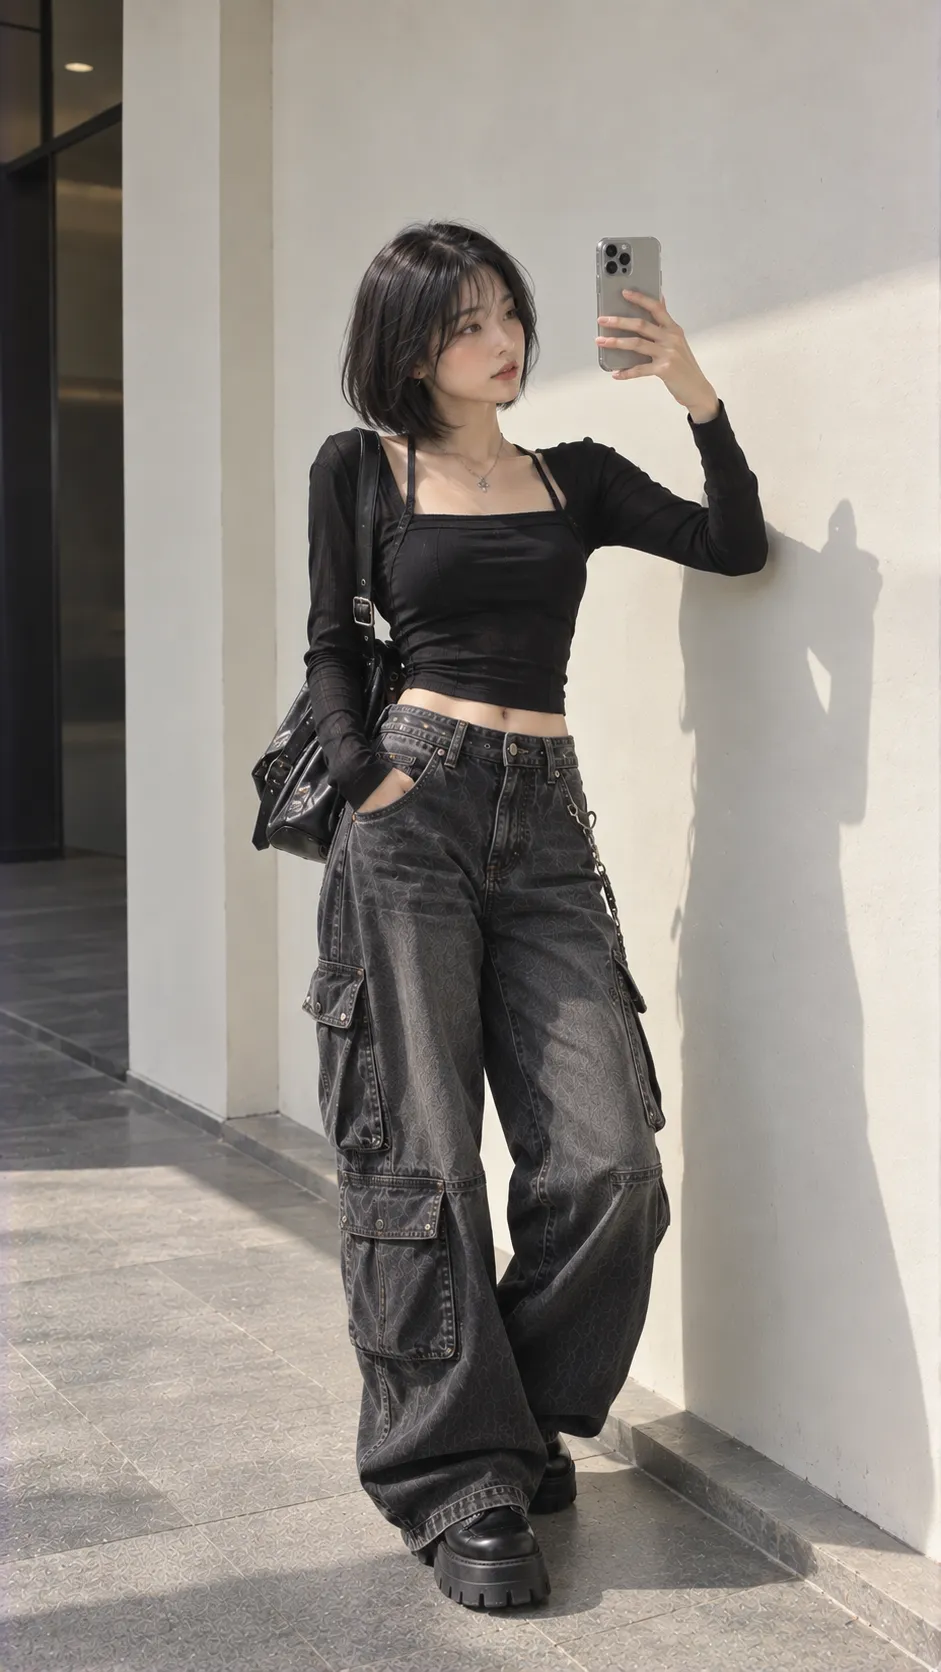
On many phones, the rear camera at 1x is a useful starting point for full-body pictures. An ultrawide 0.5x view can help in tight spaces or create a deliberate wide-angle effect, but edges may stretch. A 2x view allows a tighter frame from farther away when space permits; detail depends on whether the phone uses an optical camera or digital cropping. Perspective changes primarily with camera position.
Prioritize camera distance before framing with focal length. A nearby body part appears larger relative to more distant parts. Try waist-to-hip height or slightly lower, keeping the phone fairly upright and stepping back to fit the body. Avoid a very low, strongly upward angle solely to lengthen legs. Take front and three-quarter frames to reveal layers, bottoms and accessories.
Choose a Setting That Supports the Outfit
A simple background helps silhouette reading, but a blank wall is not compulsory. Concrete, metal doors, corridors, glass or textured surfaces can work when their colors and lines do not compete. Separate black clothes from similarly dark backgrounds; protect the texture of white clothes from harsh highlights.
Leave room above the head, below the feet and at the sides for later crops. Check for background lines cutting across the head, shoulders or legs. Moving the camera slightly may remove signs, vehicles or bright distractions.
Phone camera settings
Clean the lens first, then use a grid if it helps align verticals. Tap the subject to focus and meter where your phone supports it. If bright fabric or sky loses detail, reduce exposure as needed; there is no fixed exposure-compensation value for every phone and scene.
Flash is optional rather than always wrong. It is often unnecessary in daylight, while direct night flash can suit a deliberate Y2K, indie-sleaze or club-photo look. Pro or manual modes help when you need ISO, shutter-speed or white-balance control; ordinary Photo mode often serves daytime outfits well.

Five practical outfit poses
An outfit pose should reveal cuts, layers and movement rather than conform to a particular body ideal. Vary weight distribution and limb placement instead of changing only your expression.
- Shift weight onto one leg: relax the other or move it slightly forward to introduce a natural diagonal and soften the garment’s stance.
- Take a slow step: use burst or a motion-photo feature if available. Small movements let hems, hair and trouser legs fall naturally.
- Turn three-quarters: show layers, bags, corset details or side cuts that disappear in a straight-on view.
- Give one hand a task: hold a bag, adjust glasses, touch your hair, hook a finger into a belt loop or lightly hold a hem. Purposeful gestures often feel more natural.
- Look slightly away: try a street-style frame, then take a direct-to-camera version for variety.
Before digitally stretching the body, adjust the supporting leg, shoulders, camera distance and framing. Heavy reshaping can bend background tiles, doors or walls.
Self-portraits with a tripod, timer or remote
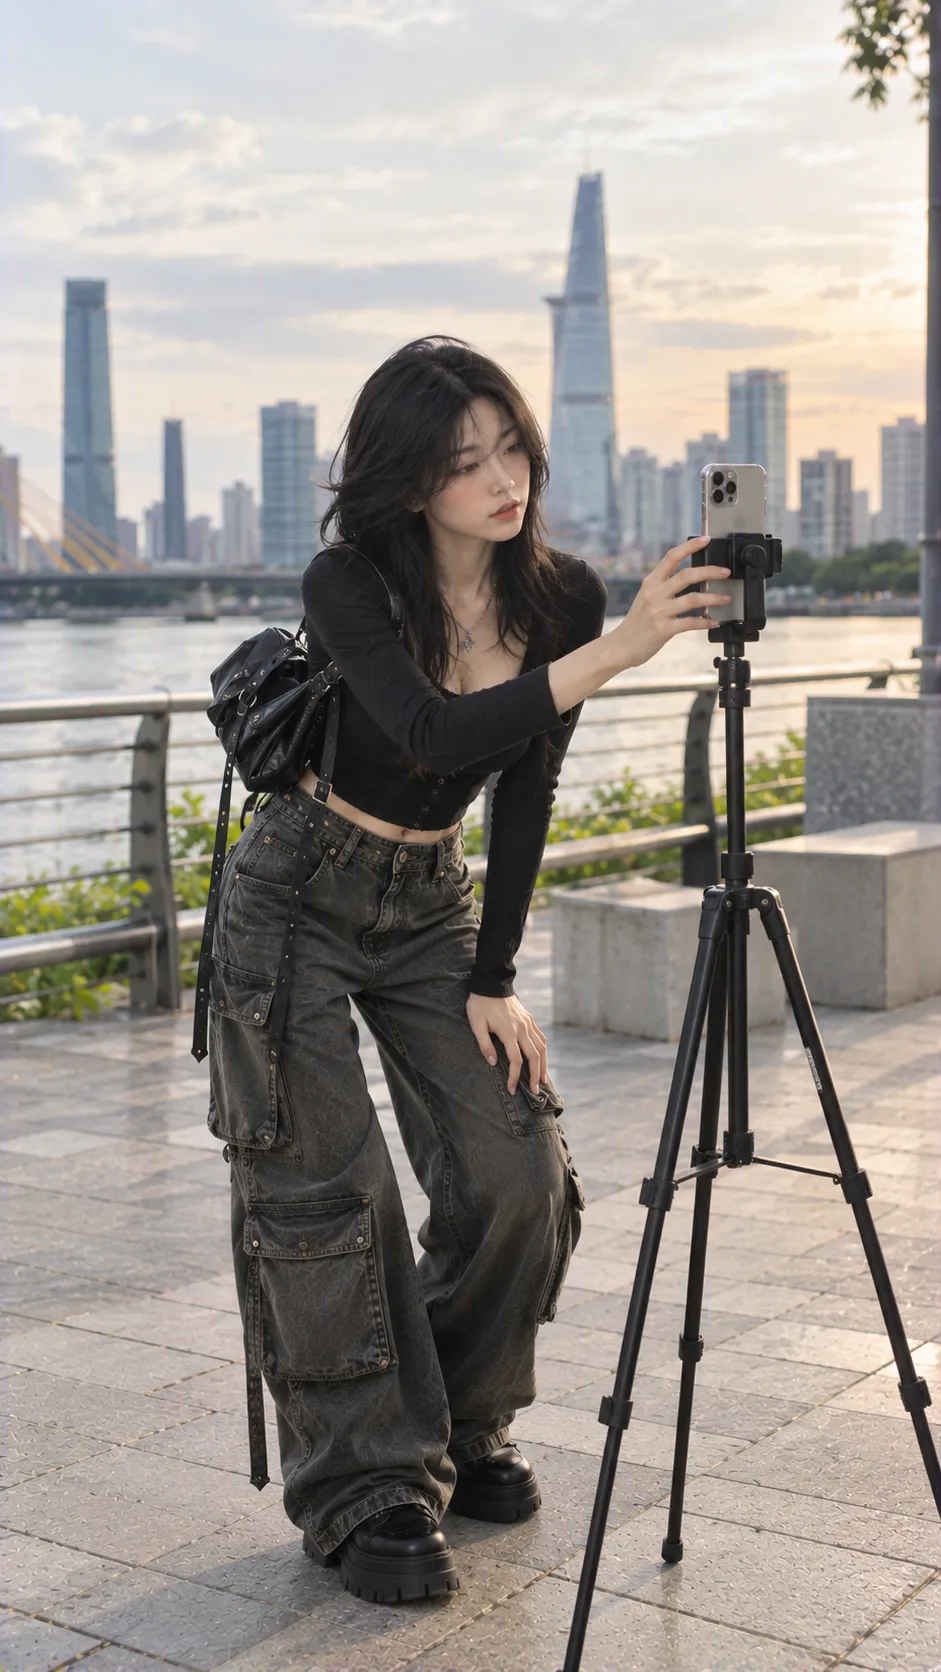
A tripod stabilizes framing and helps repeat poses. A supported timer, Bluetooth remote or smartwatch can trigger self-portraits; available controls and delays depend on your device. Without a tripod, use a secure surface. In low light, stabilization reduces camera movement but cannot stop a moving subject from blurring.
A Ten-Minute OOTD Workflow
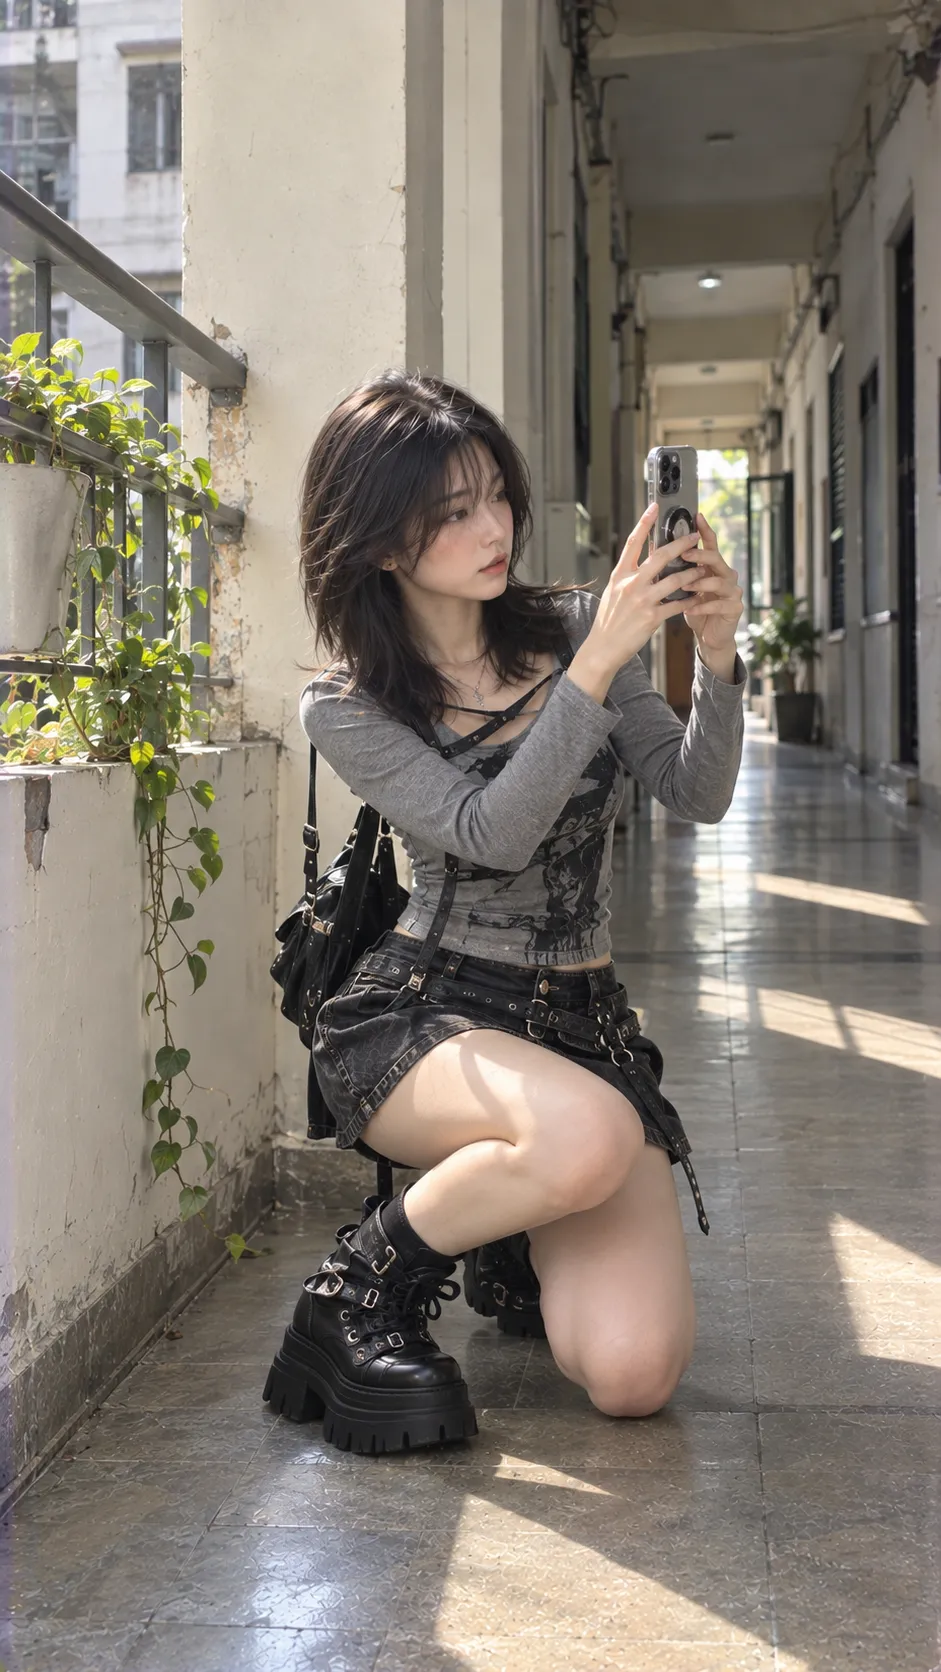
Distinct image roles are more useful than 100 near-duplicates. They also provide options for a carousel, Pinterest cover or vertical Story or Reel.
Edit for Garment Color and Texture Before Mood
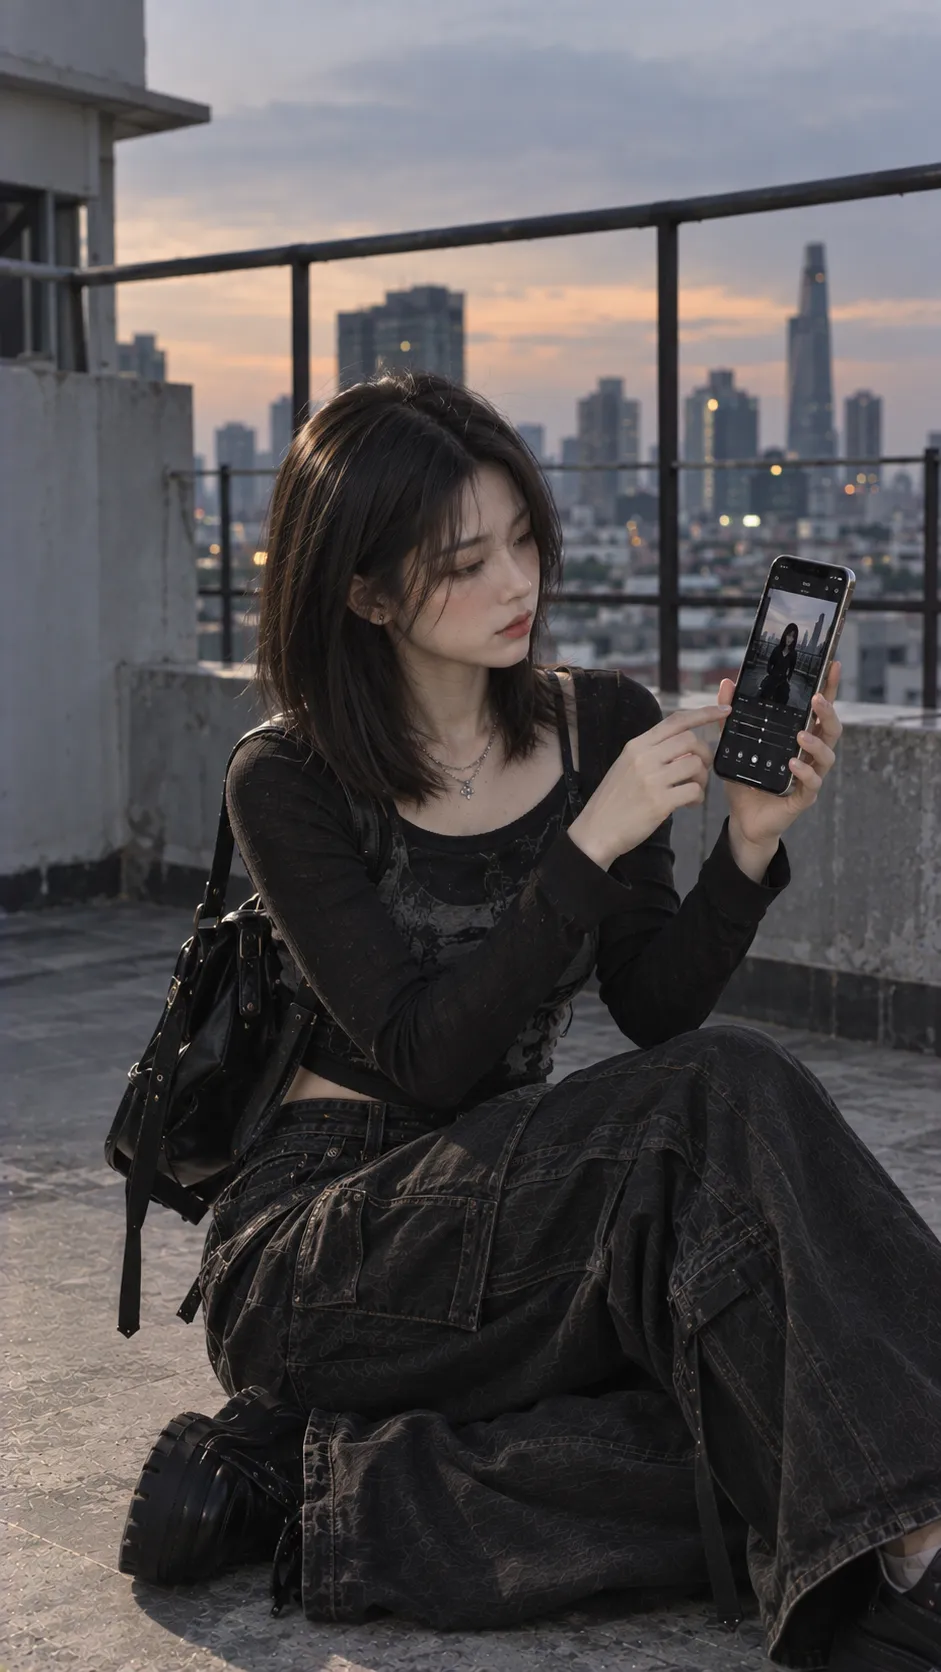
Lightroom Mobile, Snapseed, VSCO or a phone’s built-in editor can provide basic adjustments. Begin with exposure → white balance → highlights and shadows → contrast → color → crop and straighten. Avoid applying a strong filter first and then struggling to recover skin and fabric colors.
A dark aesthetic does not require making the entire picture very dim. Retain deep blacks while separating top, hair, trousers and background. Reduced saturation changes color intensity; it does not automatically create a cooler white balance. Keep blue denim, skin and silver-toned details close to the intended appearance.
If adding blue or purple shadows, use restraint and check another screen when possible. A preset suited to gray concrete may fail under warm indoor lights. Group presets by lighting conditions rather than expecting one treatment to fit every image.
For black outfits, preserve boundaries between clothing, hair and background. Side lighting and differences among cotton, washed denim, mesh, leather and metal can reveal layers. Reduce a preset’s strength if it changes garment or accessory colors excessively.
Common mistakes
- Standing too close or overusing 0.5x: increase camera distance before changing the pose.
- Tilting sharply upward from a low position: the nearest shoes or legs may appear exaggerated.
- Unintentional backlighting: reposition or adjust metering.
- Black clothes merging into the background: separate them through light, color or distance.
- Overpowering filters: balance exposure, white balance and contrast first.
- Too many similar frames: alternate front, three-quarter, stepping and detail views.
A useful OOTD image quickly communicates silhouette, proportion, texture and focal points before the viewer notices the camera model.
Related articles
If choosing clothes remains the difficult part, read what an outfit means for a complete-combination approach and alternative going-out outfits for practical formulas. For a mostly dark wardrobe, our guide to washing black clothes to reduce fading helps maintain fabric appearance over time.
Do not rely on editing to solve every problem. Once light, distance, lens choice and pose work, post-processing can focus on color, tonal detail and cropping.
Related Closet outfits
Use the Closet references to try different frames: Look #43 E-Girl (Vietnamese) for front and three-quarter compositions, Look #44 Goth (Vietnamese) for mesh and chains, Look #17 Baddie Streetwear (Vietnamese) for baggy silhouettes, and Look #52 Goth (Vietnamese) for dark layers.
Frequently Asked Questions
When should I shoot outfit photos?
Choose soft, even light rather than a fixed hour. Conditions shortly after sunrise, before sunset or in open shade may work. Buildings, season and weather change the useful window.
Should I use 0.5x, 1x or 2x?
Start at 1x for full-body images. A 0.5x view can fit tight spaces but stretch edges. A 2x view permits tighter framing from farther away; perspective depends on that distance, while detail depends on the phone’s optics and digital cropping.
How high should the phone be?
There is no mandatory height. Try waist-to-hip level or slightly lower, keep the phone fairly upright, and adjust distance rather than tilting strongly upward.
Do I need a tripod for self-portraits?
No, but it makes framing more stable and repeatable. A secure surface and a supported timer or remote can work. In low light, the subject must still remain relatively still even with a tripod.
Which editor should I use?
Lightroom Mobile, Snapseed, VSCO or a built-in editor can handle basic work. Exposure, white balance, highlights, shadows, contrast, color and cropping matter more than the app name; add a preset carefully afterward.
How do I retain detail in black clothes?
Try side lighting, avoid a background of identical darkness and show material differences. When editing, do not lower blacks and shadows until all layers merge.
References
These sources provide context on camera controls, exposure and light. The outfit-shooting workflow is an Apocalypse Closet editorial application.