

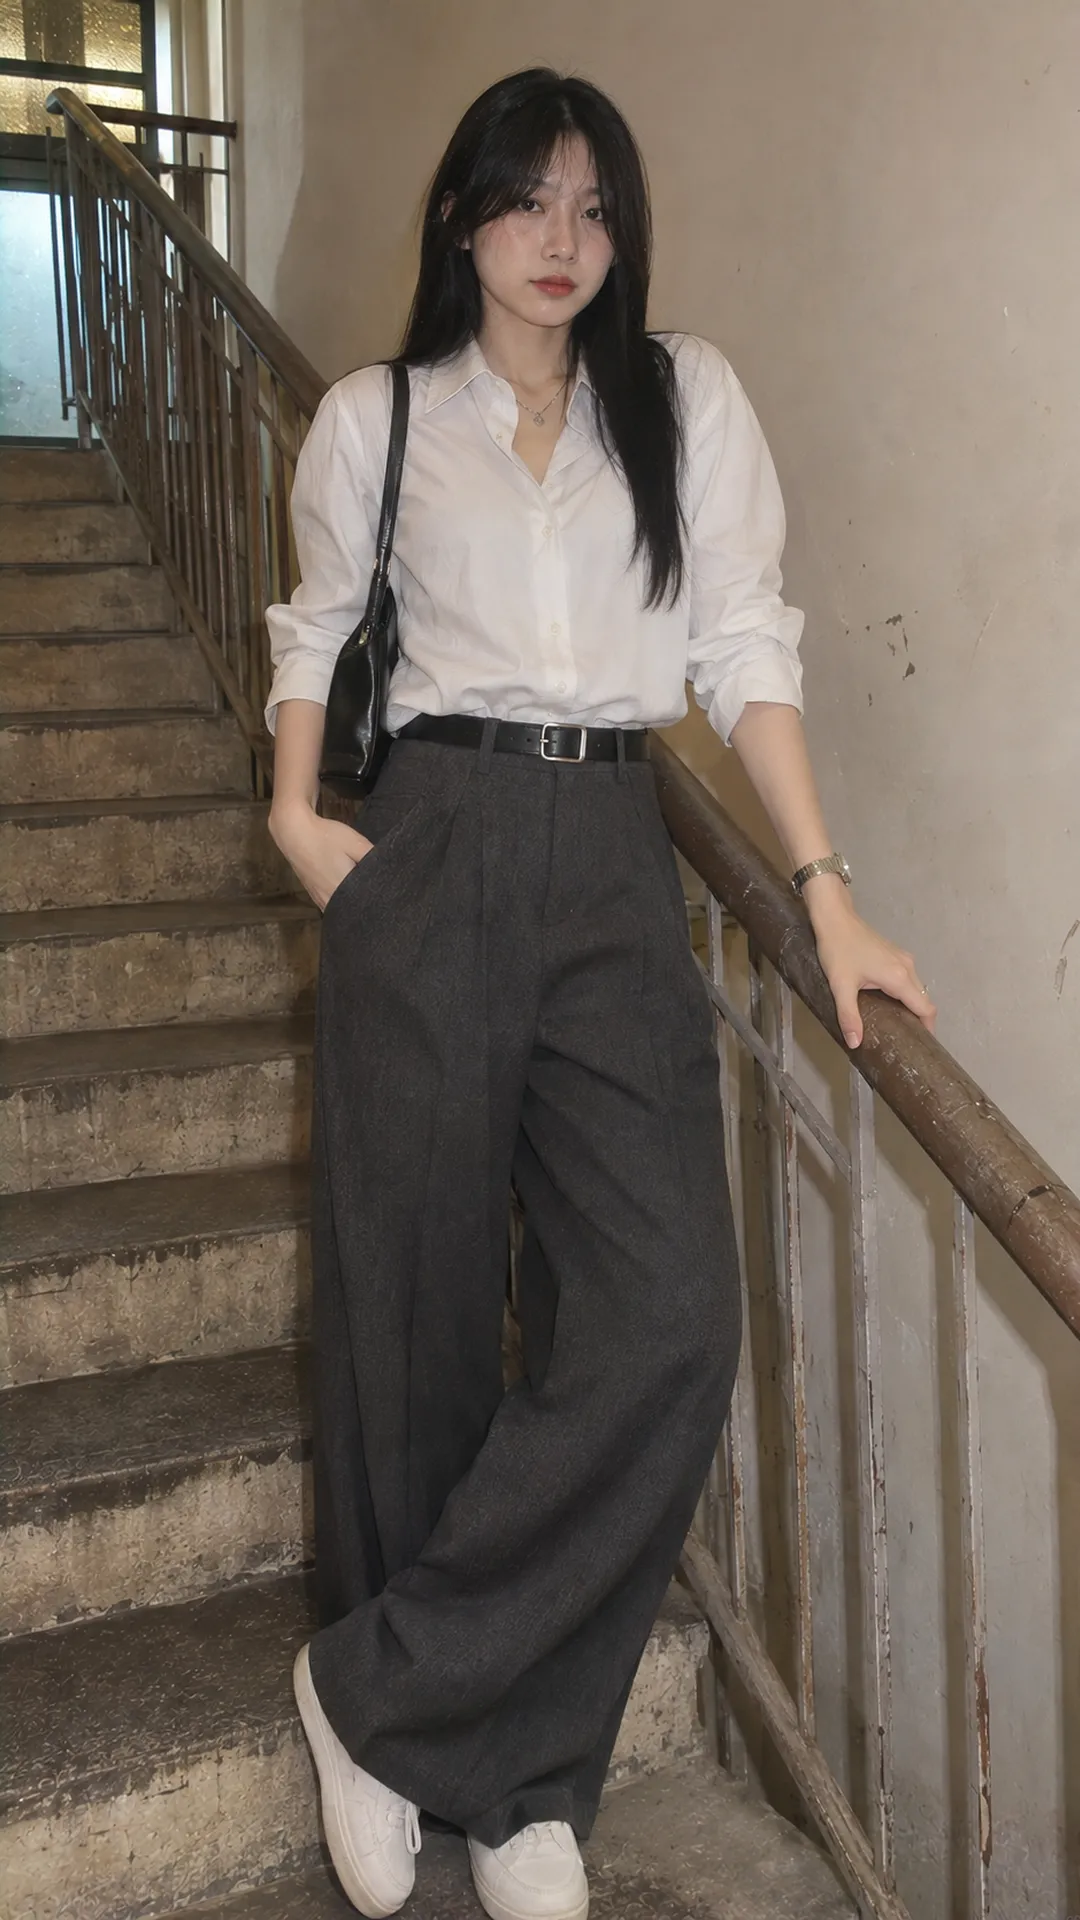
Check the shirt and waistband first
The shirt should be long enough to stay inside the waistband when you sit and reach overhead. A very short shirt may work better untucked. A long, thick shirt can create bulk. The right technique depends on how the shirt is made.
Look at whether the hem is straight or curved, whether there are side vents, and how the front and back lengths compare. A long curved hem usually gives you plenty of fabric to tuck, but you’ll need to distribute it evenly. A short straight hem may work with a small front tuck if there’s enough length.
The waistband of your trousers or skirt needs room for the tucked layer as well as your waist. If it feels tight once fastened, another tuck may do little to fix the fit. Choose a combination that still lets you move comfortably.
In the mirror, let the button placket sit in its natural position. Pulling it to one side can distort the shirt. If the shirt already strains across the bust or shoulders, address the fit first. Our women’s tops guide explains how to read the cut before choosing how to wear it.

Full tuck: Work in sections to avoid bulk
- Button the shirt as you plan to wear it, let the body hang naturally, and open the waistband of the trousers or skirt.
- Tuck the front into the waistband and smooth the fabric from the center outward so the tails stay flat.
- Continue around the sides and back, keeping the button placket reasonably straight.
- Fasten the waistband and feel the front and sides for bulky overlaps.
- Ease a little fabric back out around the waist, then sit and stand to check your range of motion.
How much fabric to pull out depends on the shirt. Soft fabric may fall gently over the waistband, while crisp fabric forms a more defined fold. You should be able to reach forward without pulling the neckline down and sit without feeling the shirt stretch from shoulder to waist.
If the back balloons, open the waistband and smooth it out again. Pulling hard from the front may shift the shoulders or placket. Check both hips while adjusting so you don’t move all the excess from one place to another.
A full tuck works when you want the waistline visible or a tidy finish. For work, choose according to the shirt and the dress code. A thick shirt left untucked at the right length can look more polished than fabric crammed around the waist.

Front tuck: Show the waistband and leave the back loose
Start at the center front. Tuck in part of the hem and smooth it gently toward either side. Let the back hang naturally and adjust the transition at the hips to avoid bunching. Fasten the waistband and ease out enough fabric to keep the shirt from pulling diagonally.
If the shirt is very loose, start with a small section at the front and tuck in more if you prefer the look. If the sides keep sticking up, check the hem shape and fabric thickness. The shirt may work better fully tucked or left loose.
Look from the side to see whether the back hangs lower than you want. A front tuck leaves the original volume in the shoulders, sleeves, and back. If the outfit still has too much fabric for your taste, check the pants shape or shirt length as well.
If your trousers have a prominent zipper, button, or belt, see whether the tuck covers or pushes it out of place. The waistband is a focal point here, so how the fabric sits there matters more than making the two sides identical.
One-sided tuck: Choose a shirt that opens at the hem
A one-sided tuck needs two front panels that can separate easily at the hem. If you need to undo the bottom buttons, open only as many as the design and your preferred coverage allow. Sit down to check for gaps and watch for strain on the placket.
Tuck one front panel into the waistband and leave the other out. Adjust the placket and the point where the two sides meet so the shirt doesn’t twist. Try each side if you carry a bag or have a detail on the trousers you want to show.
Use this tuck when you want an asymmetrical shape. If the untucked panel covers most of the trousers or keeps catching on a pocket, try another approach. The outfit still needs to work while you walk, sit, or carry a bag.

Fold excess fabric at the sides of a loose shirt
After tucking in, find the extra fabric on each side. Open the waistband if needed, smooth each side, and make a small fold toward the back. Hold the folds while fastening the waist, then ease a little fabric back out so the shirt can move with you.
Keep the folds small enough that the side seams stay in place and the front placket doesn’t pull open. This method works with a moderate amount of extra fabric. If you’re folding several thick layers, the shirt may be too wide or the fabric too bulky for this tuck.
Check how the folds look through thinner trousers or skirts. A fold may show as a ridge at the hip. If so, tuck in less, try a front tuck, or choose bottoms with different construction. Tightening the waistband can make the ridge more visible.
With a thick shirt, skip the side folds and try it untucked before buying roomier trousers. See how the pieces you already own work together before adding new ones just to manage extra fabric.
Adjust for drape, thickness, and length
Soft, drapey fabric: Smooth each tail to avoid a bulky spot. After tucking, look from the side to see whether the shirt drapes the way you want. Leave the natural folds if you like them and fix areas that are rolled or twisted.
Crisp fabric: Use fewer folds and place them deliberately. A wide, crisp shirt can create volume around the waist even when smoothed flat. Try a front tuck or a small side fold, then judge it with the trousers on.
Thick fabric: Limit how much you put into the waistband. If you struggle to fasten it or sit comfortably, wear the shirt another way. A tuck should stay comfortable once you start moving.
Long shirt: Distribute the fabric around your waist so the tails don’t all sit at the front. If the shirt is longer than you need, try wearing it loose, using it as an outer layer, or having it shortened if appropriate. Try a different tuck before cutting it.
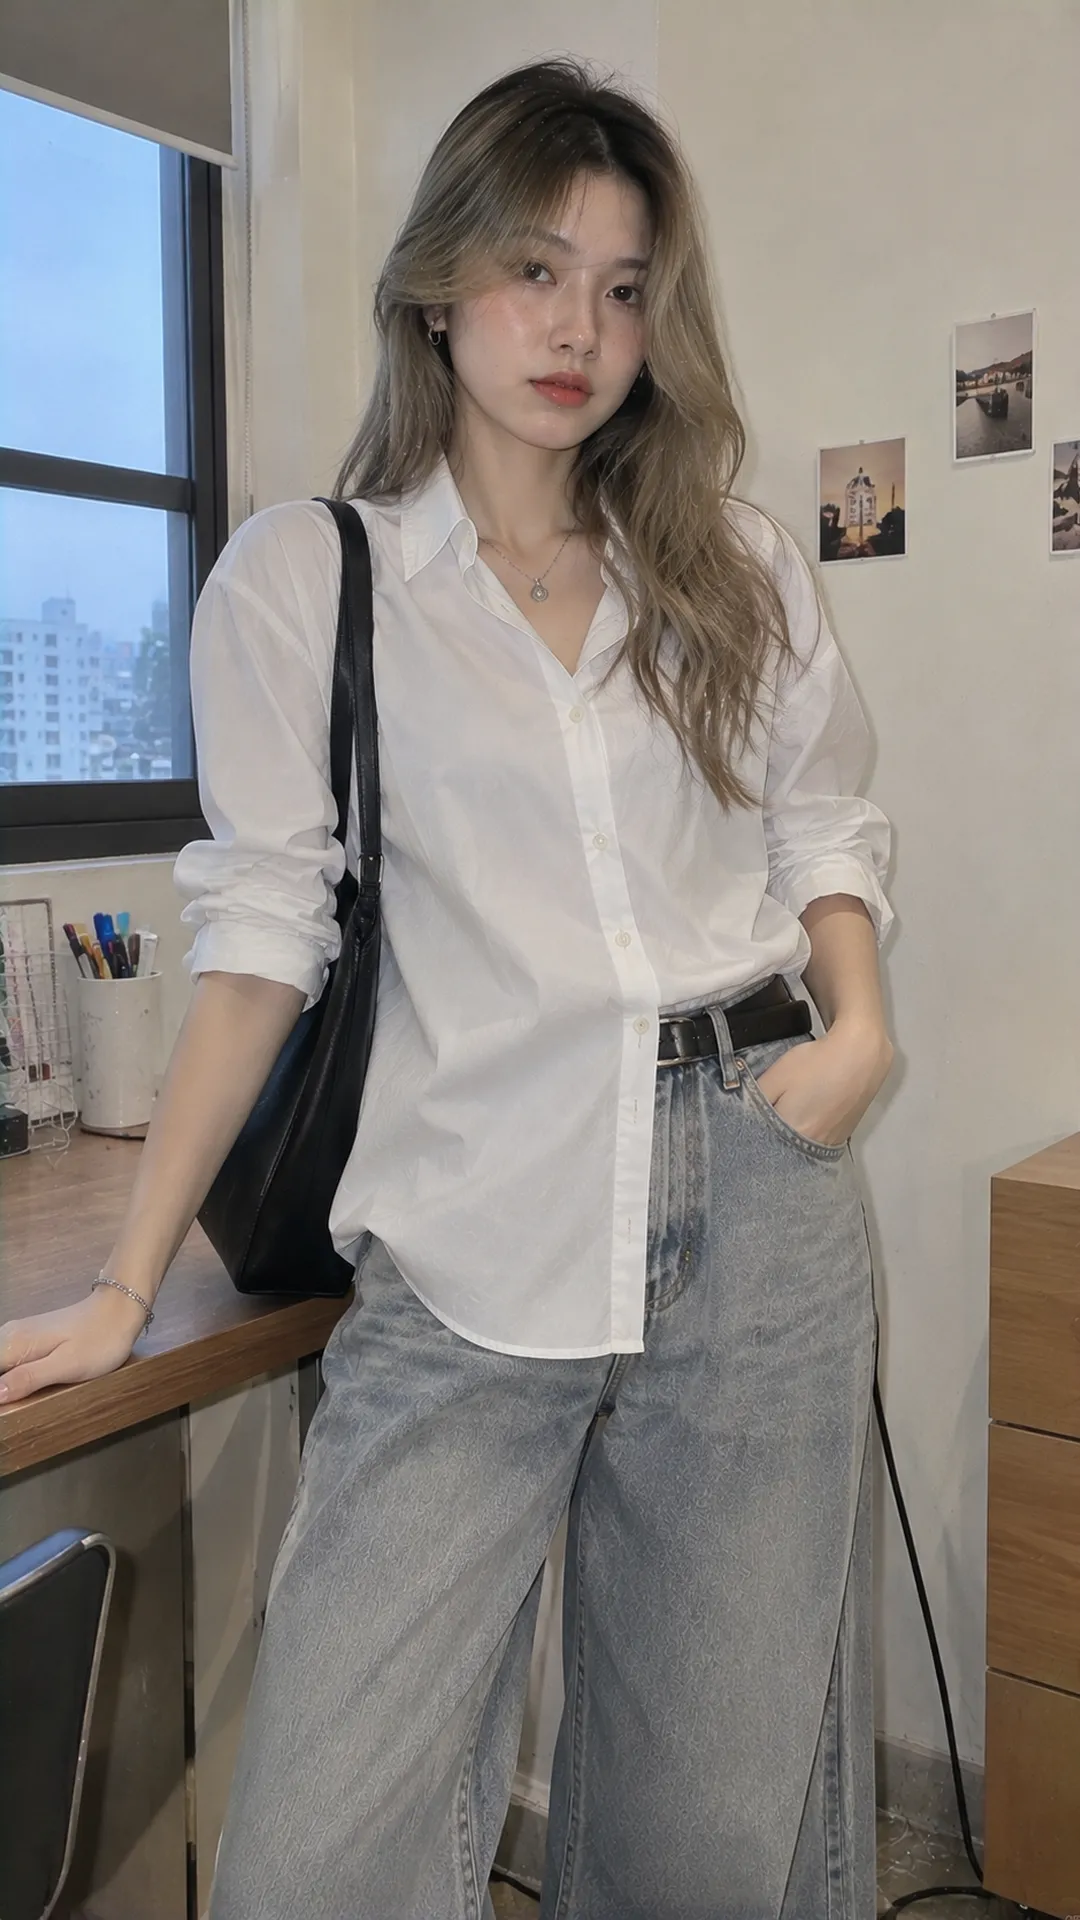
Fix the problem you can see
The shirt comes untucked when you lift your arms
Check whether the shirt is long enough and whether the shoulders and armholes allow you to reach. A deeper tuck won’t add length or room at the shoulders. Ease out a little more fabric, change the tuck, or choose another shirt if you’ll be reaching a lot that day.
The front feels bulky
Open the waistband and smooth the tails again. Look for rolled fabric or overlapping layers at the center. Spread some excess toward the sides, then check for bulk at the hips. If the waistband is already tight, try a different size or wear the shirt another way.
The placket twists and the buttons pull
Adjust the shirt from the shoulders down before changing the tuck. One tail pushed in too far can twist the body. A tight fit can also strain the buttons. Fix the source of the pull before adding a belt.
The back balloons while the front looks neat
Check a side and back photo to see where the fabric sits. Smooth the back toward the sides before making any folds. A little fullness can be intentional. Adjust the parts that differ from the look you want.
Test the tuck against your plans for the day
Sit in a chair, get up, walk a few steps, and reach for something on a table. Check the waistband, placket, and back afterward. If every movement calls for a full adjustment, try a different tuck before going out.
If you’ll wear a jacket, check whether the shirt pulls loose as you slide your arms into the sleeves. Our guide to layering women’s outfits explains how the inner and outer layers work together. Check the tuck on its own first so the outfit works when the jacket comes off.
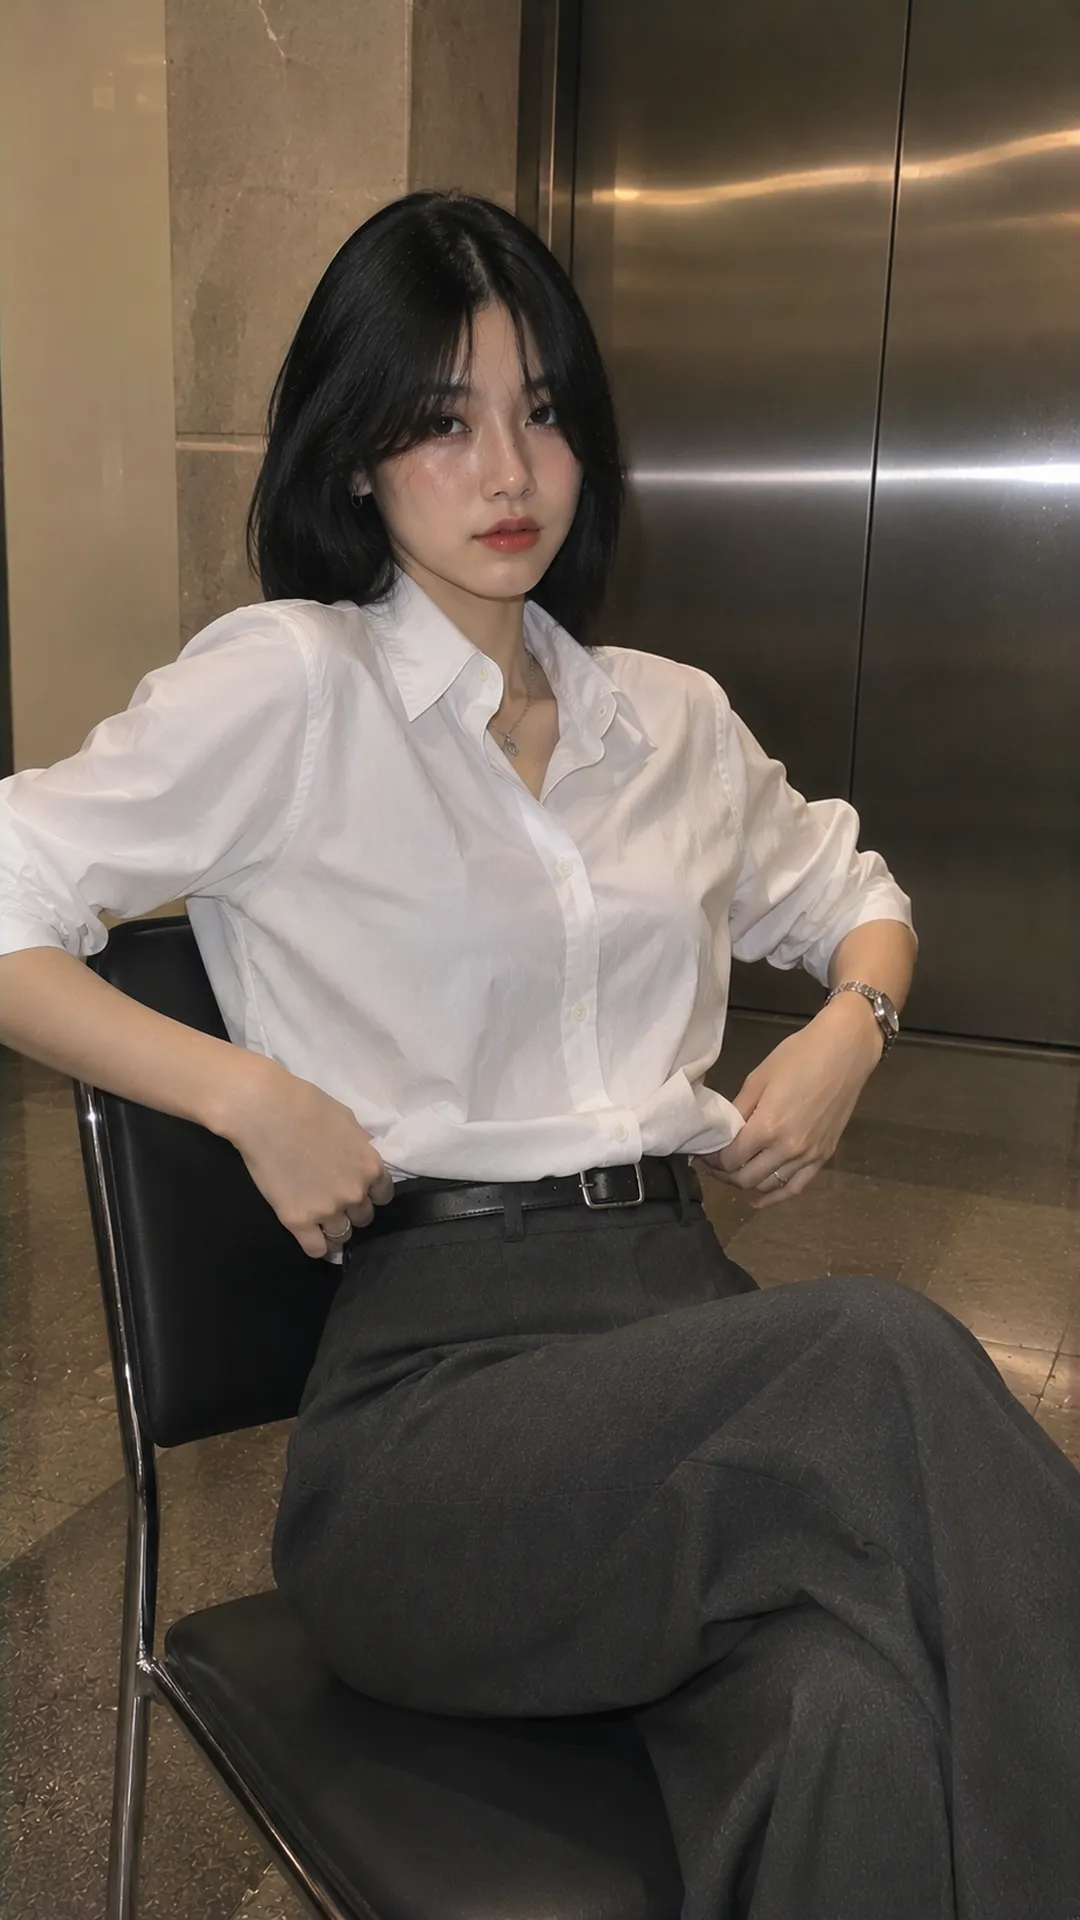
Choose a tuck you can maintain
For a day sitting at school or work, try a full tuck with a shirt long enough to stay in place and enough ease to move. For a relaxed outing, a front tuck can work with a moderately loose shirt. Try a one-sided tuck if you want asymmetry and have checked your coverage while seated.
To choose the trousers by silhouette first, see our women’s pants guide. Once you have a tuck that works, our guide to what pants to wear with a women’s shirt can help you choose the cut, color, and shoes.
Remember the method that feels comfortable and needs the fewest adjustments with your shirt. You can tuck one shirt several ways, and some methods will work better than others. Testing the tuck in motion makes it easier to choose next time.