


Prepare the laces and identify eyelet order
Remove the old laces, count pairs and inspect the openings: metal eyelets, punched holes or fabric loops. New laces should pass through without force. Overly wide laces fold and resist adjustment; overly thin ones may look unbalanced. If the old pair was the right length, measure it as a starting point.
Do not choose length only by eyelet count. Side spacing, shoe size, lacing method and bow size all affect requirements. Online, consult both shoe and lace guidance. Long ends should not trail on the ground; overly short laces may force you to skip eyelets unintentionally.
Before lacing, clean laces and tongue as instructed. Compare the ends and inspect their protective tips. Replacing a frayed lace is generally easier than forcing it through with a sharp object. Do not use fire near shoes to treat tips or alter materials of unknown composition.
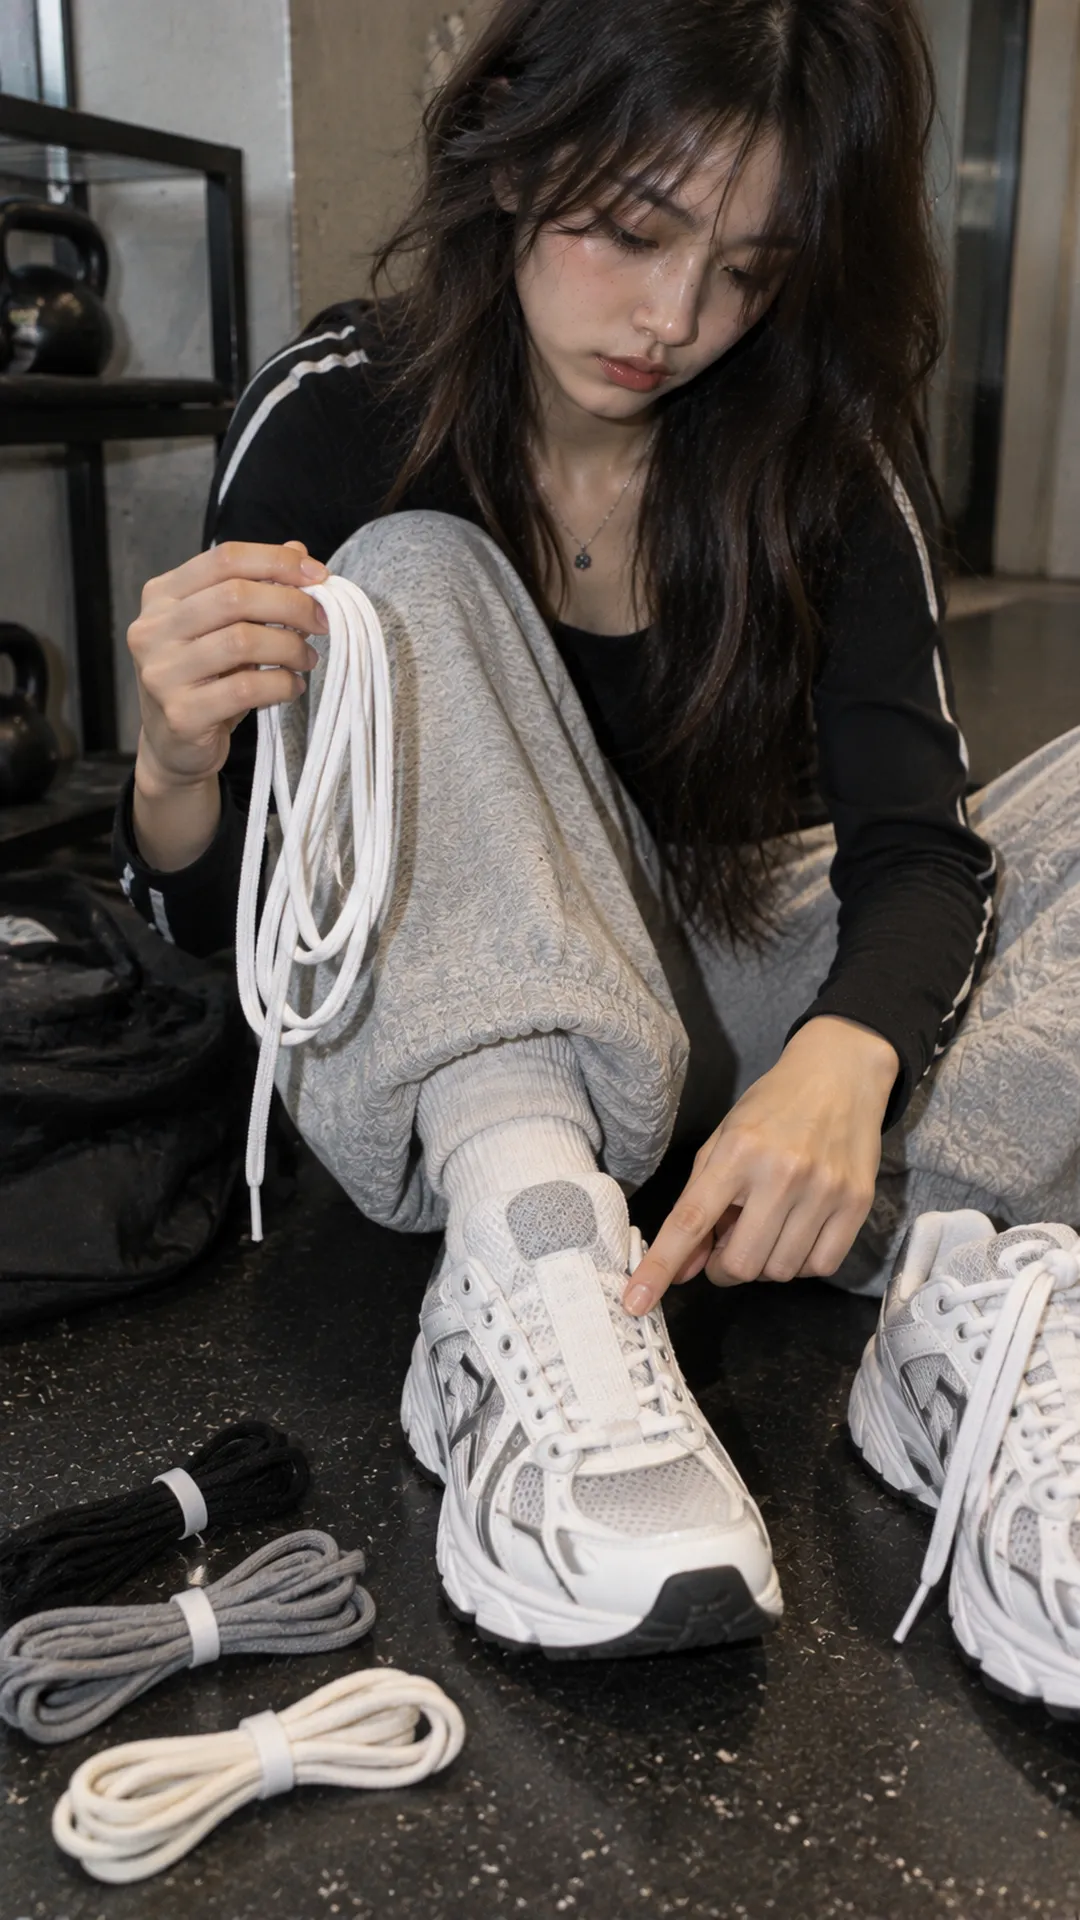
Basic criss-cross lacing: easy to adjust and inspect
Criss-cross lacing creates consecutive X shapes over the tongue. In Ian Fieggen's Criss Cross Lacing guide, the lace starts on the inside at the lowest pair, then crosses upward. This makes it easy for beginners to inspect both sides and adjust length before trying complex patterns.
- Thread one end inside-to-outside through the first left eyelet and the other through the first right eyelet. The connecting section sits inside.
- Gently equalize the ends. Keep the bottom horizontal section flat without twisting across the tongue.
- Cross the left end to the second right eyelet and thread inside-to-outside. Cross the right end to the second left eyelet in the same direction.
- Repeat at each row: an end crosses from its current side to the opposite side in the next pair. Do not accidentally skip a row.
- Stop at your intended final pair, retain enough length for a bow and check that the diagonals have even tension.
With flat laces, smooth each section with your fingers before threading. A low twist is harder to fix after tightening upper rows. Both shoes can follow the same crossing rule for consistency; forced photographic symmetry is unnecessary if it complicates fit adjustment.
Do not immediately tighten freshly threaded laces. Loosen the opening enough to insert your foot, center the tongue over your instep and adjust sections from bottom upward. Pulling only the top ends can tighten the collar while leaving lower sections loose. Wearing comfort is the final test.

Straight-bar lacing for six eyelet pairs
Straight bars suit a less diagonal upper surface. This example uses six conventional eyelet pairs, numbered one to six from toe to ankle, with ends A and B. Vertical runs stay inside; horizontal bars show outside. Do not automatically apply it to loops or different closure systems.
- Thread both ends outside-to-inside through row one, creating an external horizontal bar. A is on the left, B on the right.
- Run A inside up to left row two and out. Cross it horizontally to right row two and thread inward.
- Run B inside up to right row three and out. Cross to left row three and thread inward.
- A is at right row two: run it inside to right row four, out, across to left row four and in.
- B is at left row three: run it to left row five, out, across to right row five and in.
- A is at left row four: run it inside to left row six and out. B is at right row five: run it to right row six and out. Tie these two ends.
The result has five horizontal bars with both ends at the final row. Inspect each before tightening. If a bar is diagonal, trace that end rather than removing everything. Starting lengths may need adjustment to leave balanced ends because the internal paths differ.
Other eyelet counts require a different path. Do not force the six-pair layout and push excess lace into one side. Return to criss-cross if you want all eyelets used without a suitable diagram. Straight bars are an appearance choice, not proof of better fit.
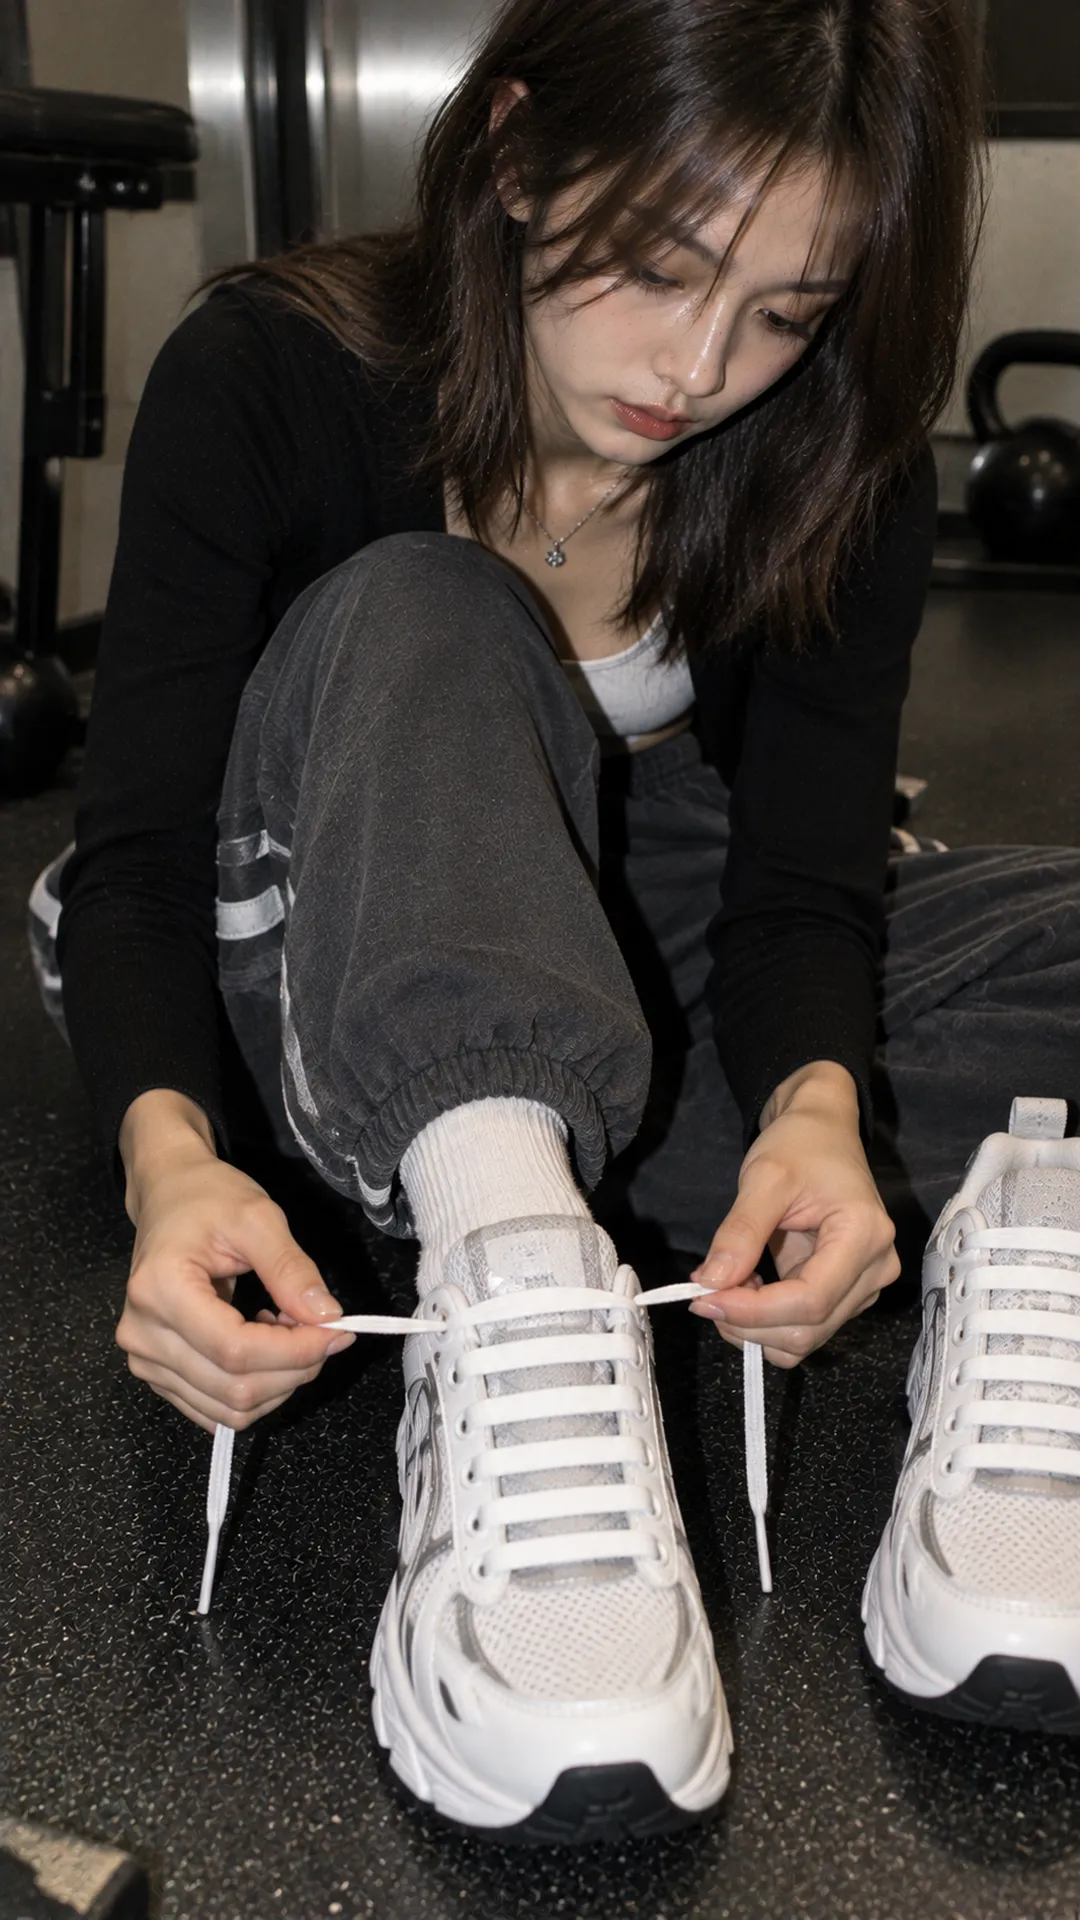
Tie a bow after adjusting fit
Sit with your foot on the floor and adjust sections for a comfortable hold. Check toe movement and a tongue free of side folds before tying. Maximum tightening cannot make the wrong shoe size fit and may increase discomfort while walking.
Cross the ends, pass one beneath the other and pull moderately to make the base knot. Fold one end into a loop, wrap the other around it and push a folded section through the gap to make the second loop. Pull the loops to secure; pulling the free tails instead releases the bow.
Release your hands and inspect the bow. Loops should be compact, clear of the ground, wheels and steps. If the bow twists vertically and slips, reverse the initial crossing direction and retie rather than simply pulling harder. Check for slippery, overly long or worn laces too.
Before leaving, walk indoors, turn and sit. Stop to adjust localized pressure. For specialized sport, follow the shoe manufacturer's or an appropriate instructor's guidance; fashion lacing does not replace selecting the right activity footwear.
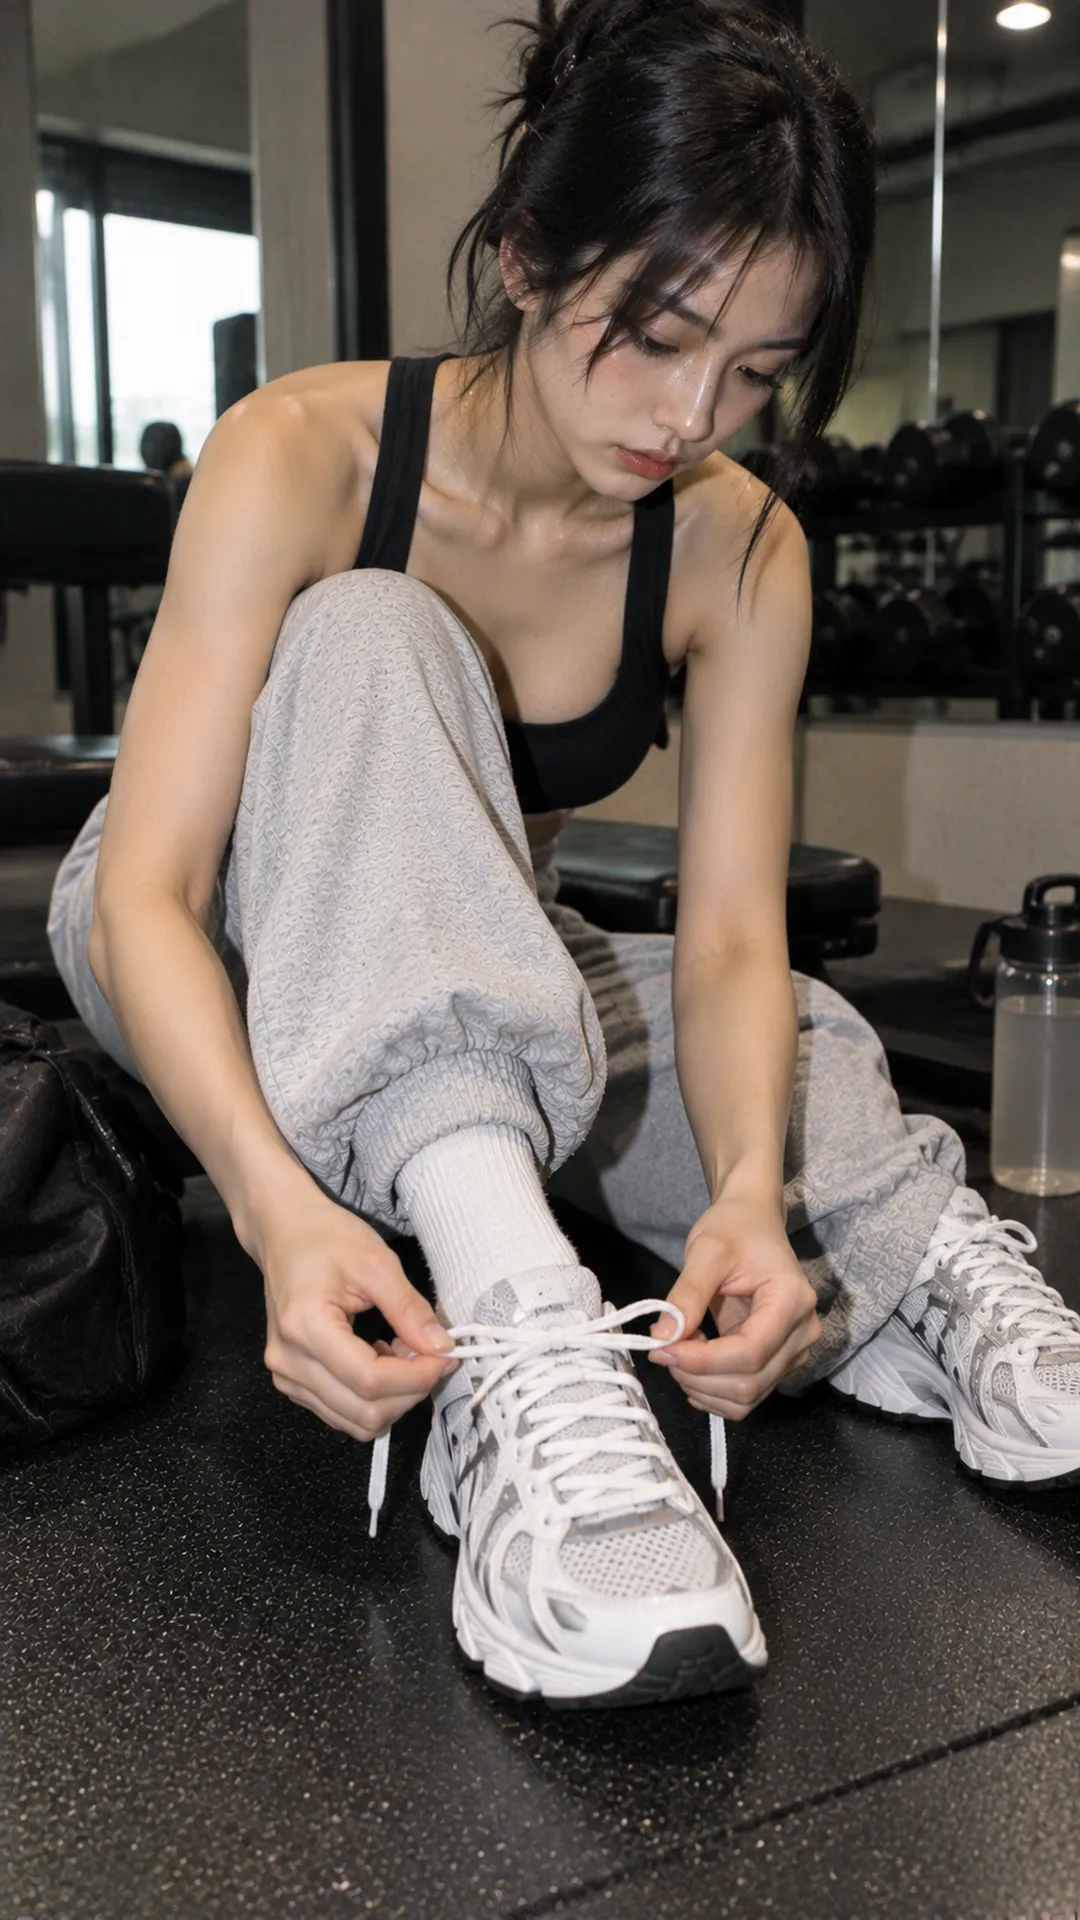
Uneven, excess or uncomfortable laces: fix the right point
Uneven lace ends
Loosen from the lowest row and shift length toward the short side, then work upward. Cutting the longer end immediately may leave too little for another pattern. With straight bars, equalize after completing the different paths, not only at the start.
Flat laces twisted into narrow cords
Unthread to the first twist, flatten and rethread with the correct face. Fixing only the exposed section leaves a folded section inside the eyelet that twists it again. If too wide for the holes, change width instead of forcing it. Similar lace widths on both shoes retain consistency.
Instep pressure before the shoe feels secure
Check tongue, inner lace runs and socks first. A small fold may sit beneath a knot or eyelet. Loosen evenly and retry; if discomfort remains, review shoe shape and size. The guide to choosing shoe sizes online helps prepare measurements, but actual fitting is still needed.
Hiding laces for a neat photo
Do not coil excess lace beneath your foot. Try a suitably shorter pair or adjust loop size. Use built-in lace keepers according to the brand. Leaving laces untied and stuffing them deep into a shoe for a photo may make walking impractical.
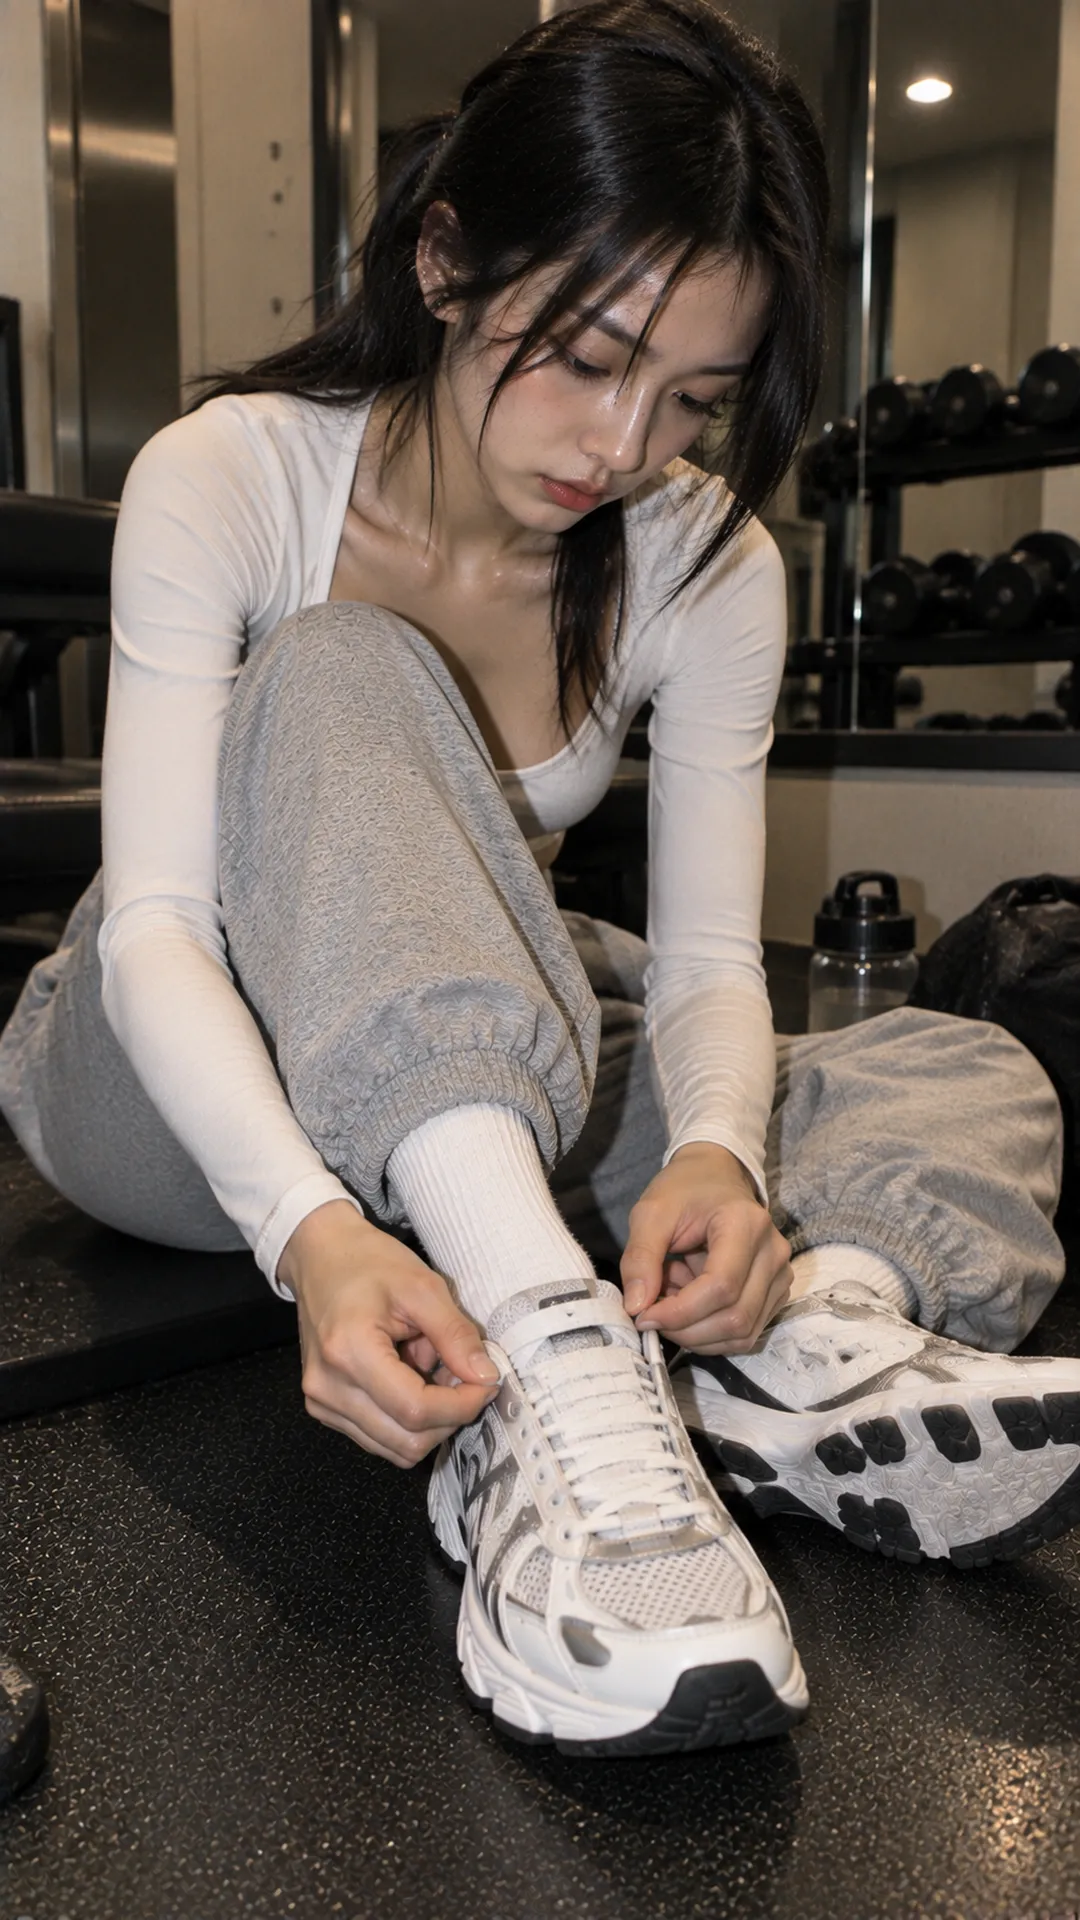
Choose lace colors for your shoes and outfit
Tonal laces reduce visual divisions when clothing already has many details. White on black gives clear foot-level contrast; check whether the sole or a top detail repeats white. Repetition everywhere is unnecessary; one link can create intention.
With multicolored sneakers, take a small existing shoe color rather than introduce a new one. With plain shoes, colored laces can lead. A fashion moodboard shows footwear within the whole outfit, avoiding laces attractive alone but unrelated to your regular clothes.
For an expressive direction, changing laces alone can suffice; shoe chains, patterned socks and large accessories are not mandatory additions. See Alt Fashion outfits for beginners to choose one clear accent. Laces should serve appearance and use rather than need constant repair.
Keep laces clean and know when to replace them
When buying replacements, check dimensions, material, tip photos and return terms. The Alt Fashion shopping hub explains reading product information before ordering, more useful than selecting solely from laces photographed on another shoe.
Remove laces for separate cleaning if instructions permit, avoiding dragging dirt into the tongue. Do not bleach every white lace: fibers, colored details and tips vary. Dry as instructed before rethreading; do not leave damp laces packed inside closed shoes.
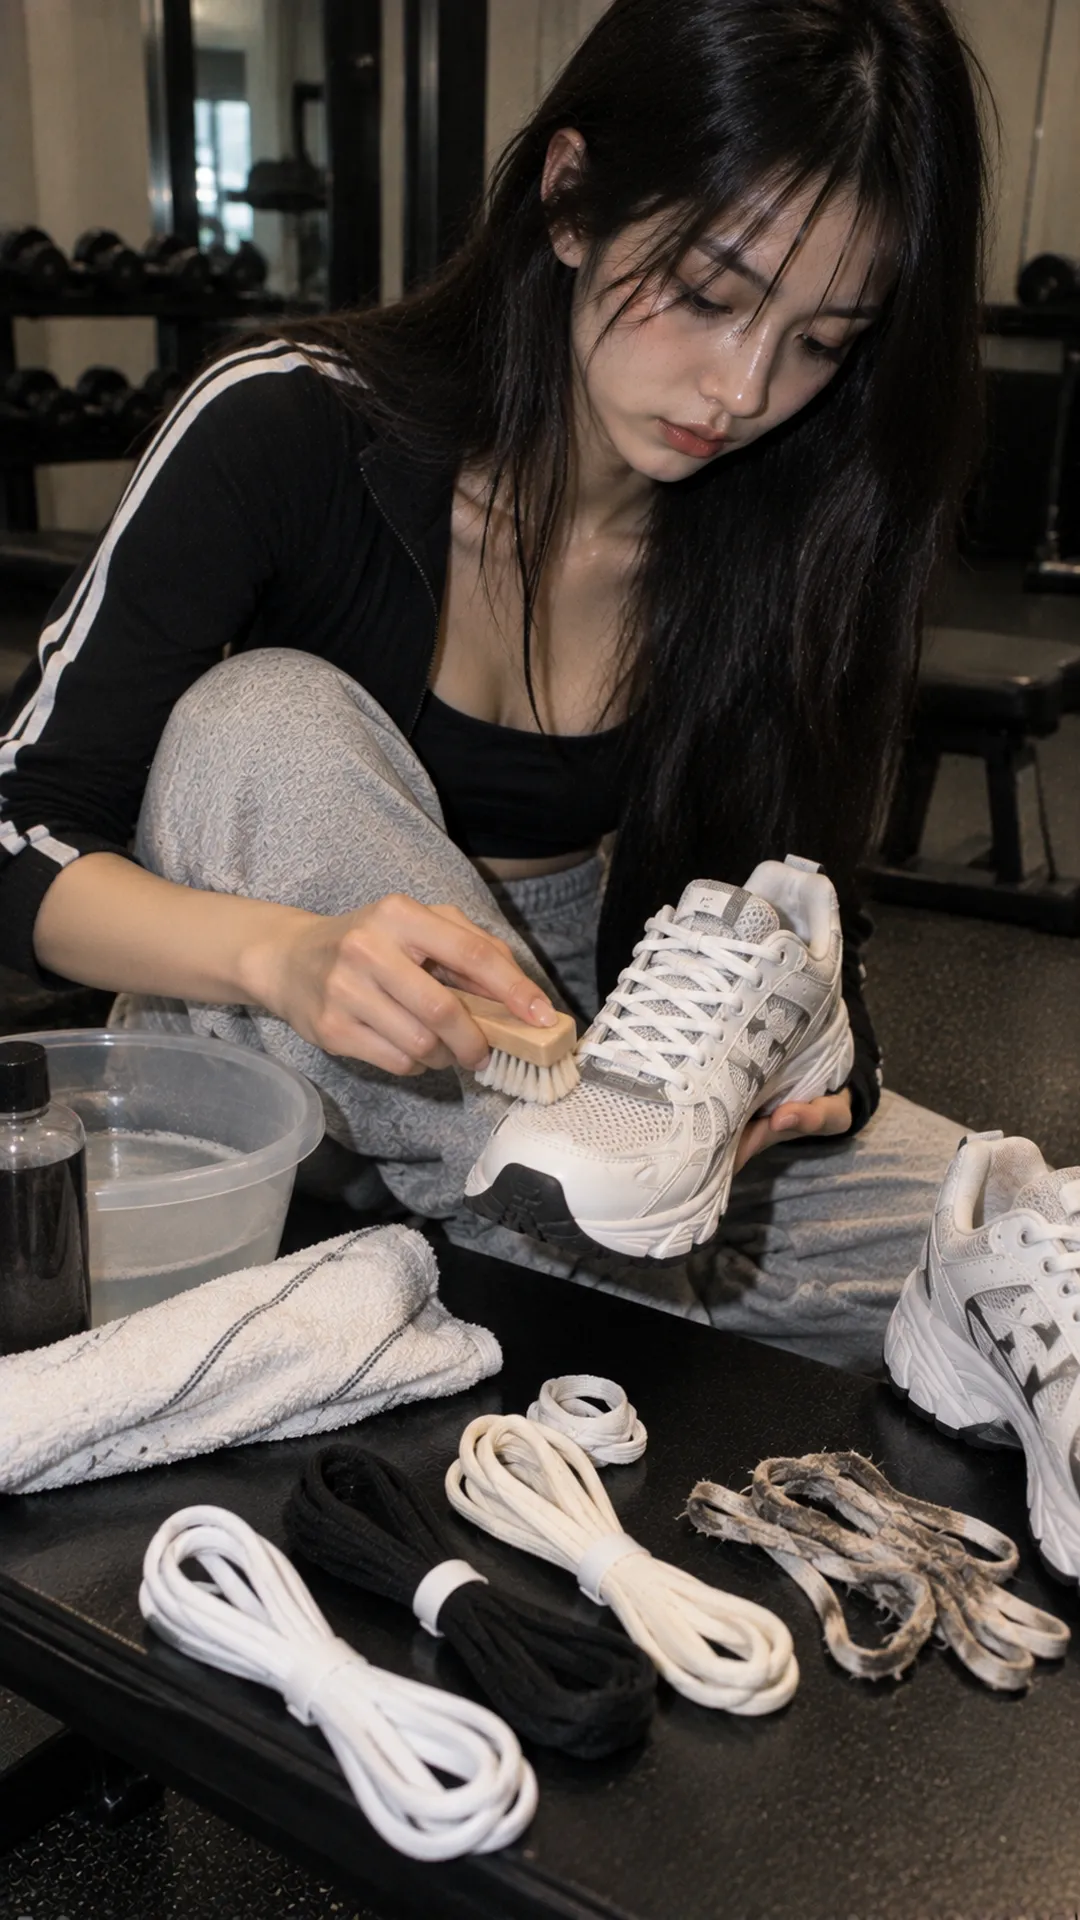
Replace substantially frayed laces, broken tips or lengths unsuited to your desired method. Keep the measurements of a good pair for next time. Clean, flat and evenly adjusted laces generally look neater than a complicated but uneven pattern; master the basic method first.