

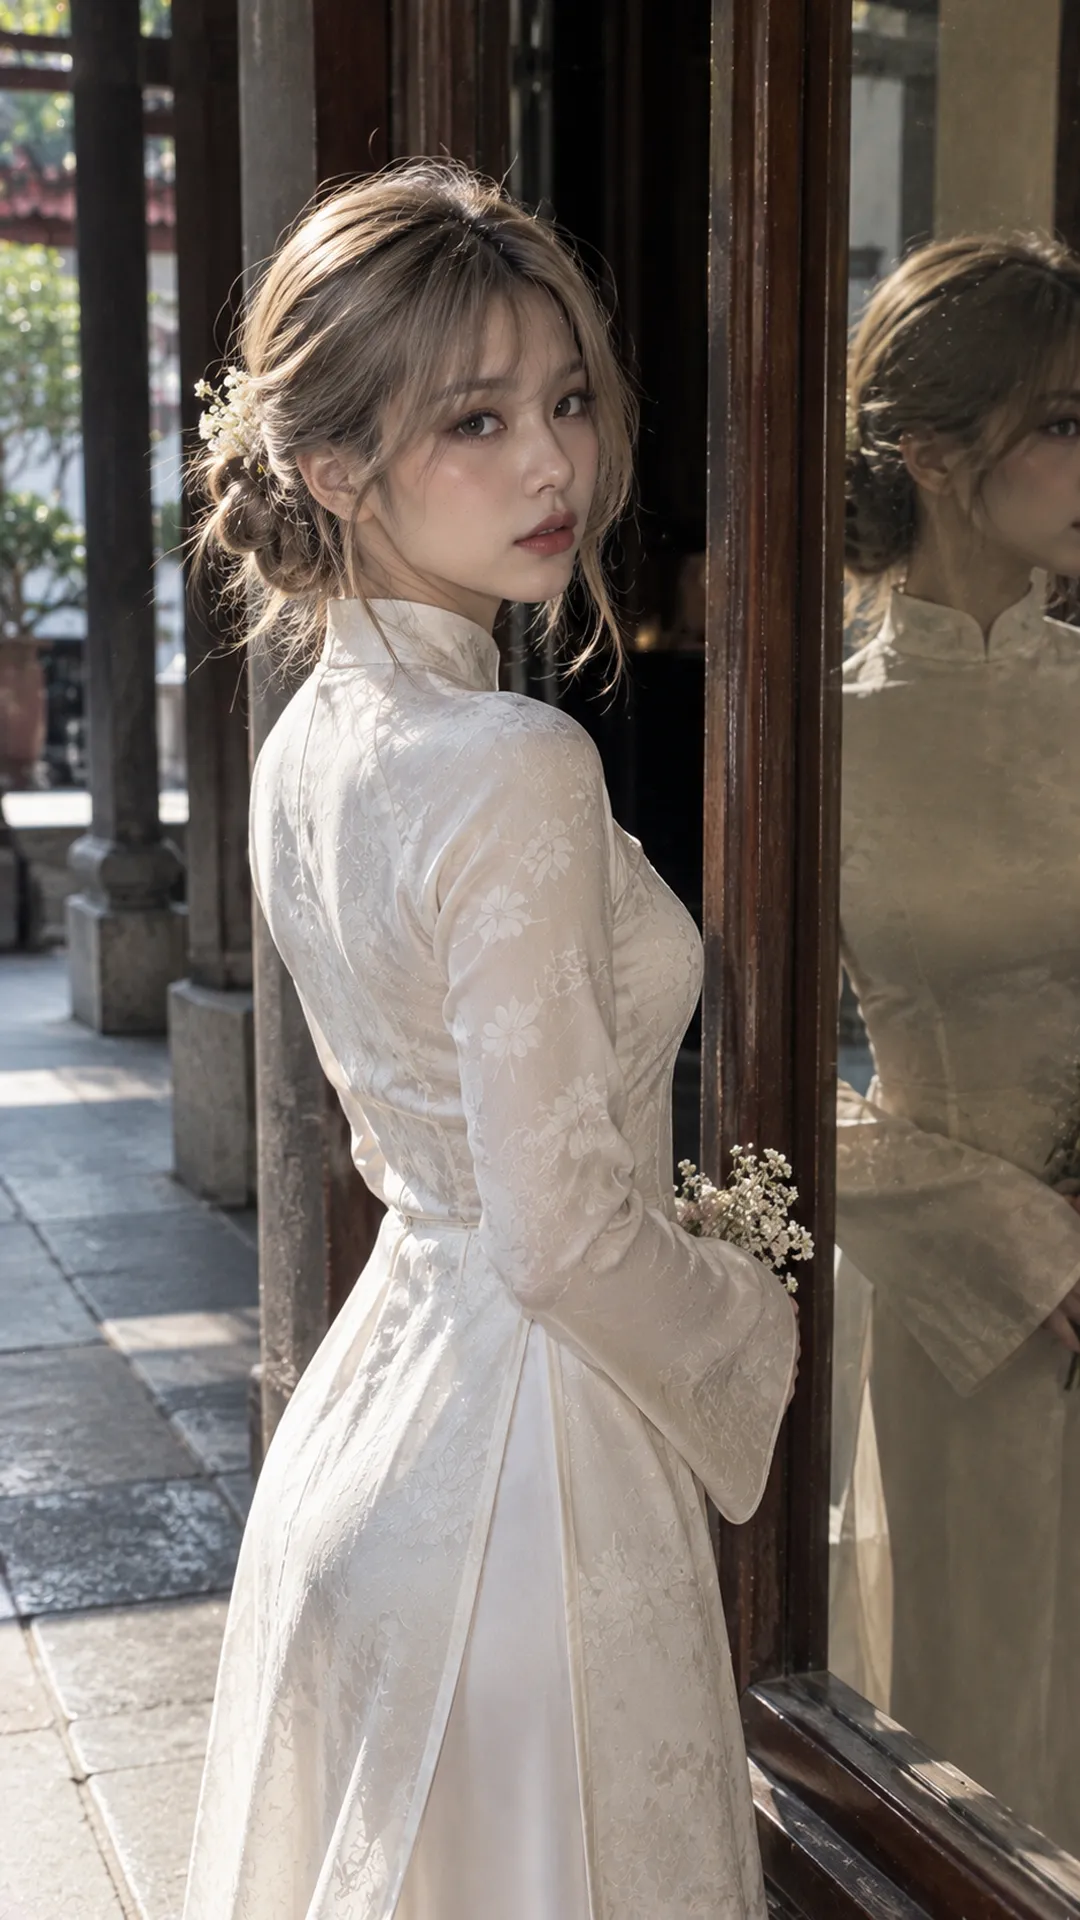
Look at the collar and pattern before styling your hair
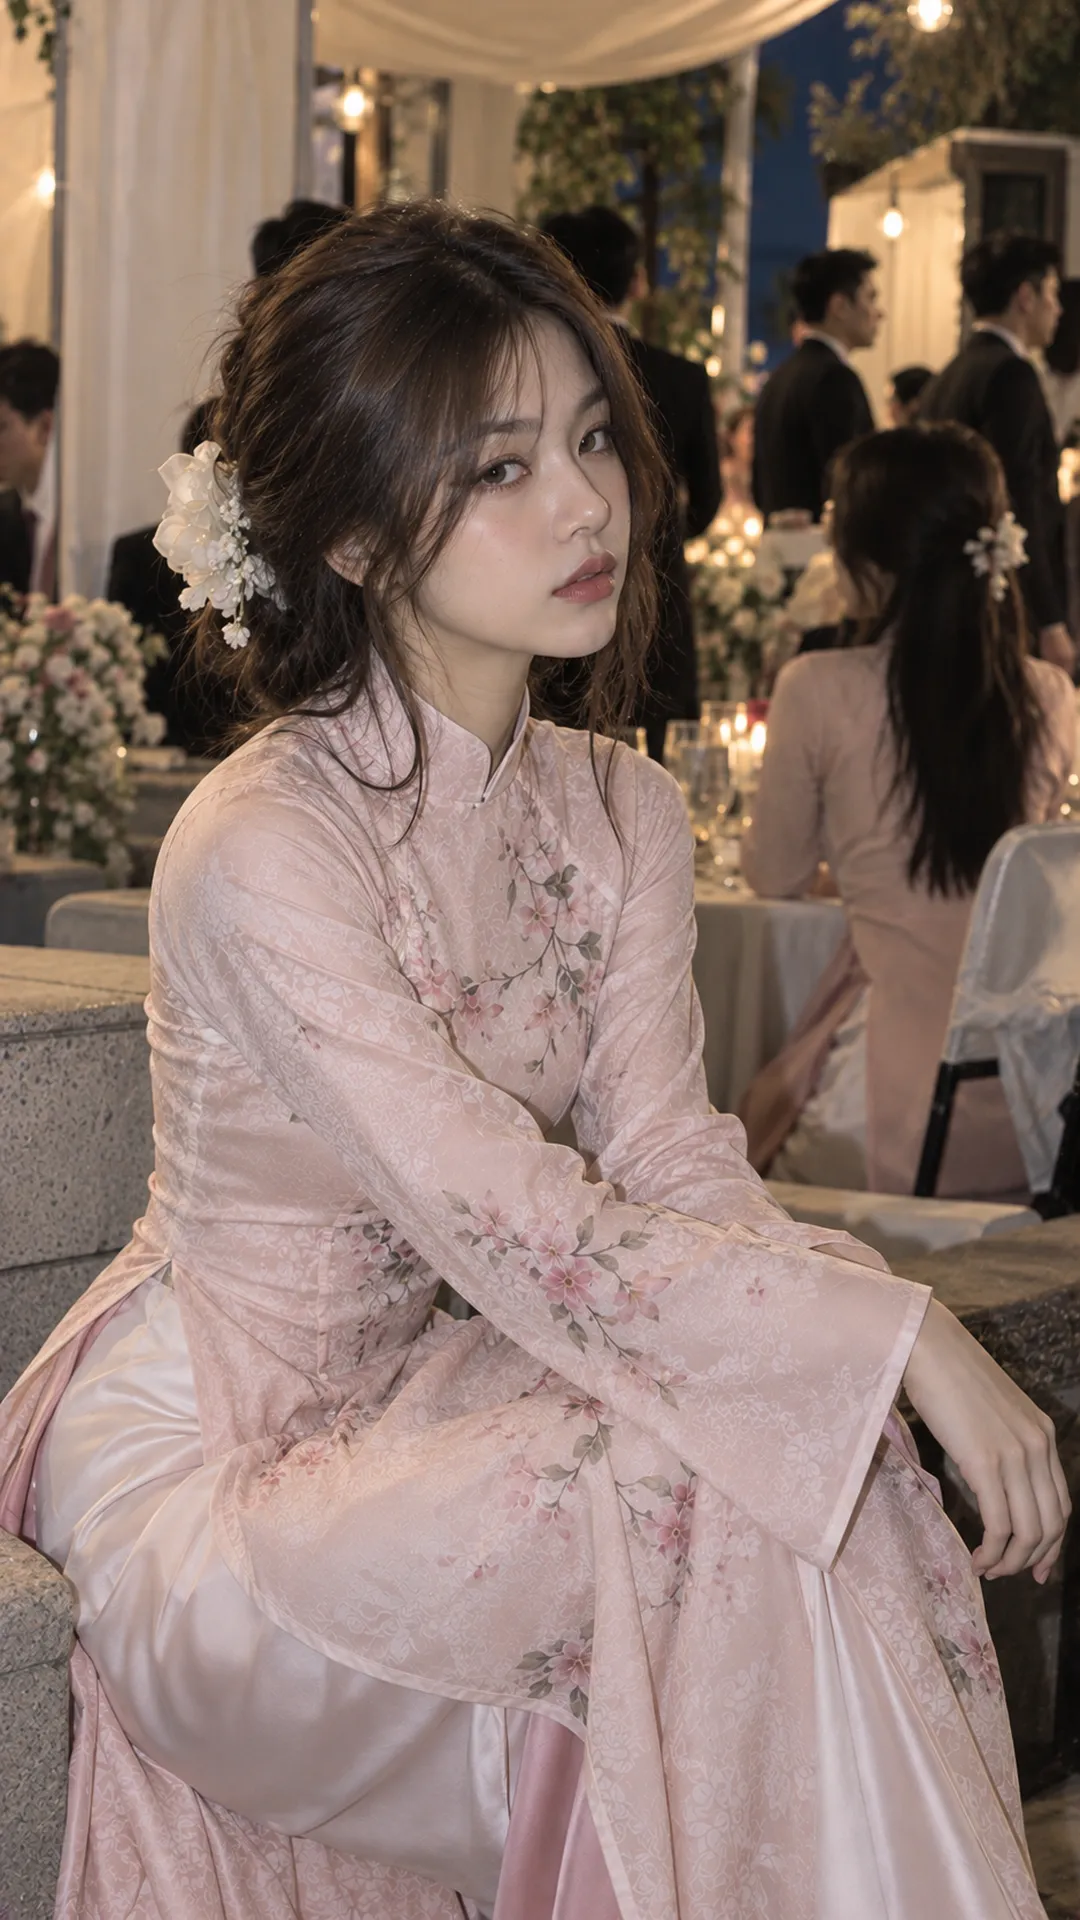
A standing collar creates a defined edge around the neck. A low bun, low ponytail or hair swept behind the shoulders reveals it. If you prefer loose hair, put one side behind and let the other fall softly in front; this creates space without gathering all your hair.
Round or boat necklines leave more space around the neck and shoulders. Half-up hair, an ear-tucked bob or long hair with softly curved ends can all work. Check where the ends fall: if they meet the neckline, the horizontal lines may merge and obscure the garment's detail.
Raised chest embroidery needs clear space in front. Long hair falling evenly on both sides can hide your chosen accent. A plain áo dài leaves more room for twists, braids or visible accessories. This assigns roles rather than requiring an updo with every elaborate garment.
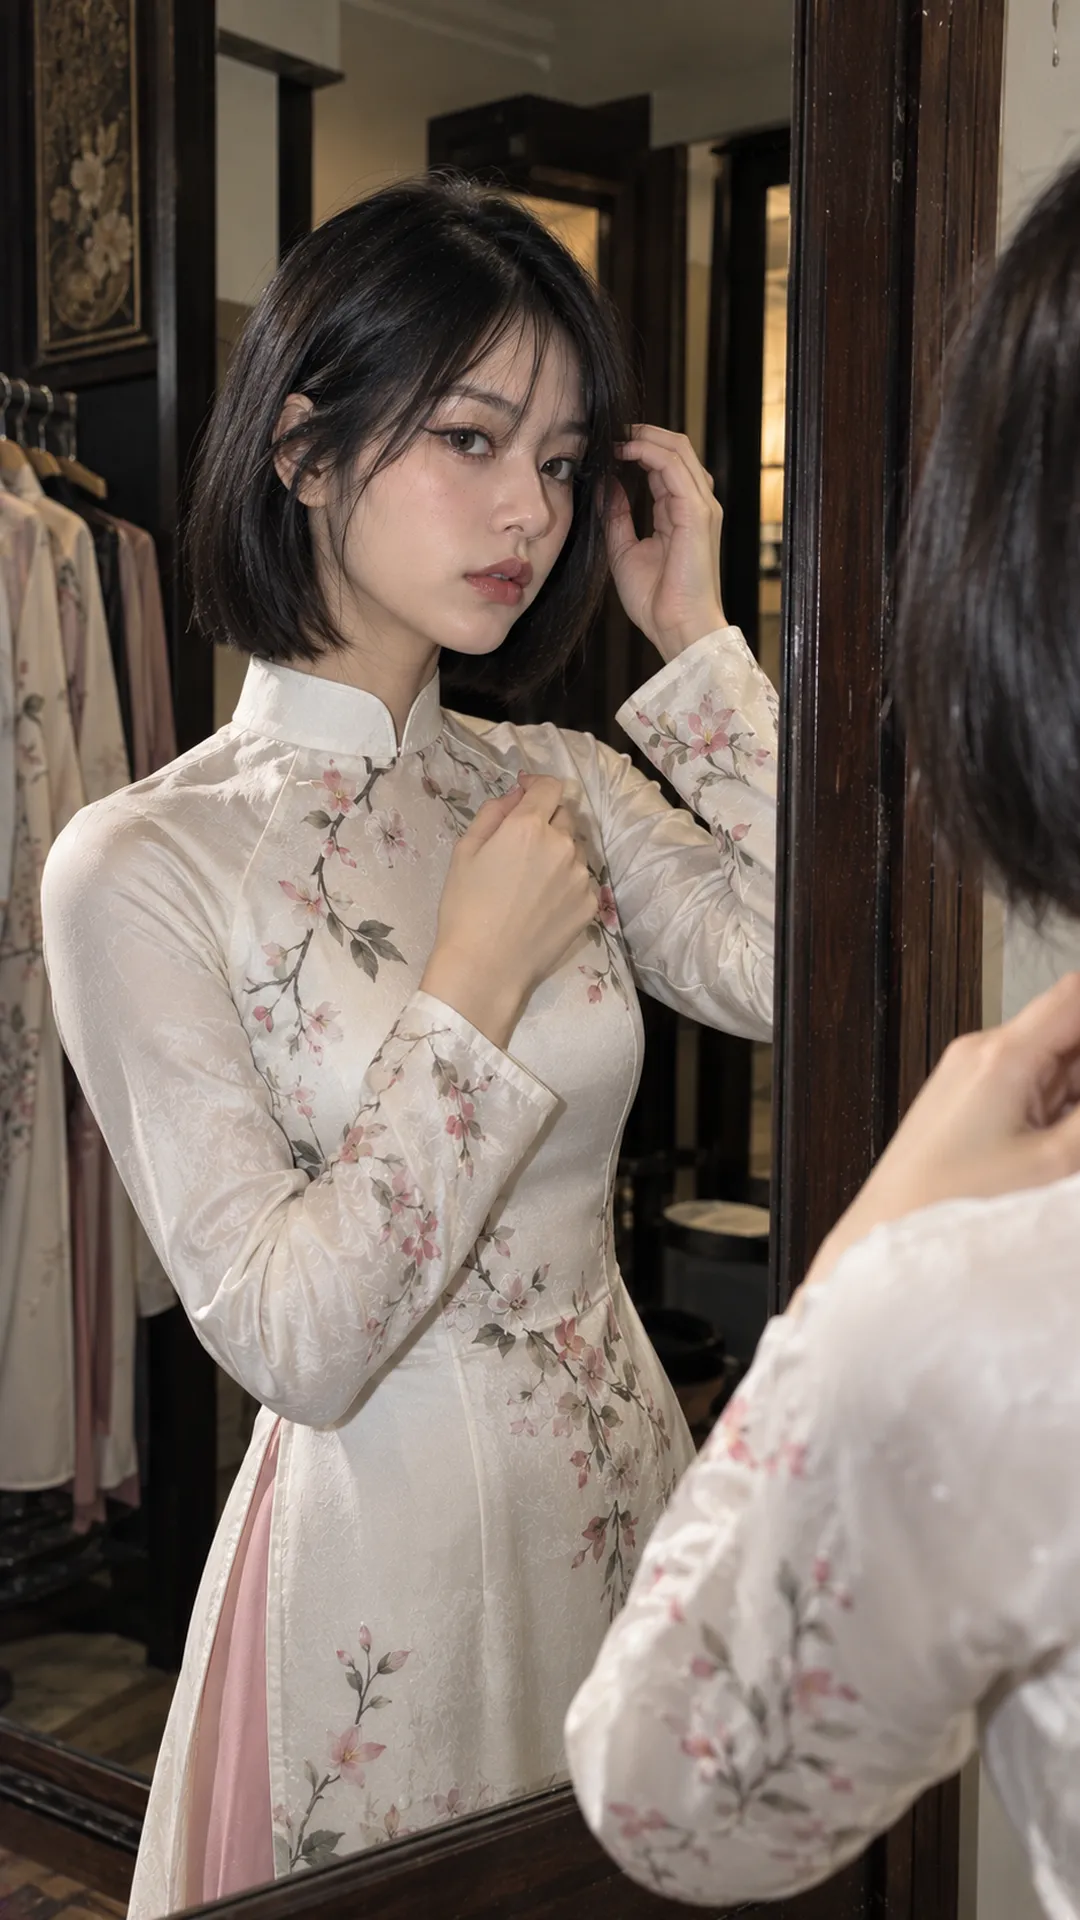
Long hair: four directions from simple to formal
Loose hair with a defined part and soft ends
Loose hair works when you want a natural feel and can readjust after traveling. Start with your familiar part, brush the lengths and arrange both sides. One side behind the shoulder and one in front is often easier to control than covering the whole chest.
If your hair has natural waves, you need not curl every section. Arrange the face-framing pieces and ends. With very long hair, turn your head to check for catching on buttons, beads or embellishments.
Half-up hair to keep the face clear
Take two small sections above the ears, bring them back and secure at the middle of the head. Keep them neat without flattening the whole crown if you want softness. Leave the remaining hair straight or with its existing curve.
This works with a plain áo dài or patterns concentrated below the chest. For more polish, conceal the tie with a small strand. Choose a clip that securely holds your amount of hair rather than an oversized one selected only for photos.
A low ponytail with a neat outline
A low ponytail keeps hair off your face during movement. Position the tie so it does not press directly against a standing collar, then check from the side. If the tail constantly rubs the collar, raise the tie slightly or try a compact bun.
This is easy to use with a simply cut áo dài and small earrings. Do not tighten excessively just to hold the style at all costs; stability during movement is the practical aim.
A side braid for minimal neckline detail
Move the hair to one side, divide into three sections and braid evenly, securing with a small tie. Gently loosen individual sections only if you want softness. A side braid draws a line down the garment, so avoid placing it over embroidery you want to show.
If fringe or short strands fall loose, use small hidden pins rather than pulling everything into the braid. Braids for an áo dài need not involve complex techniques; a neat three-strand braid in the right place has a clear role.
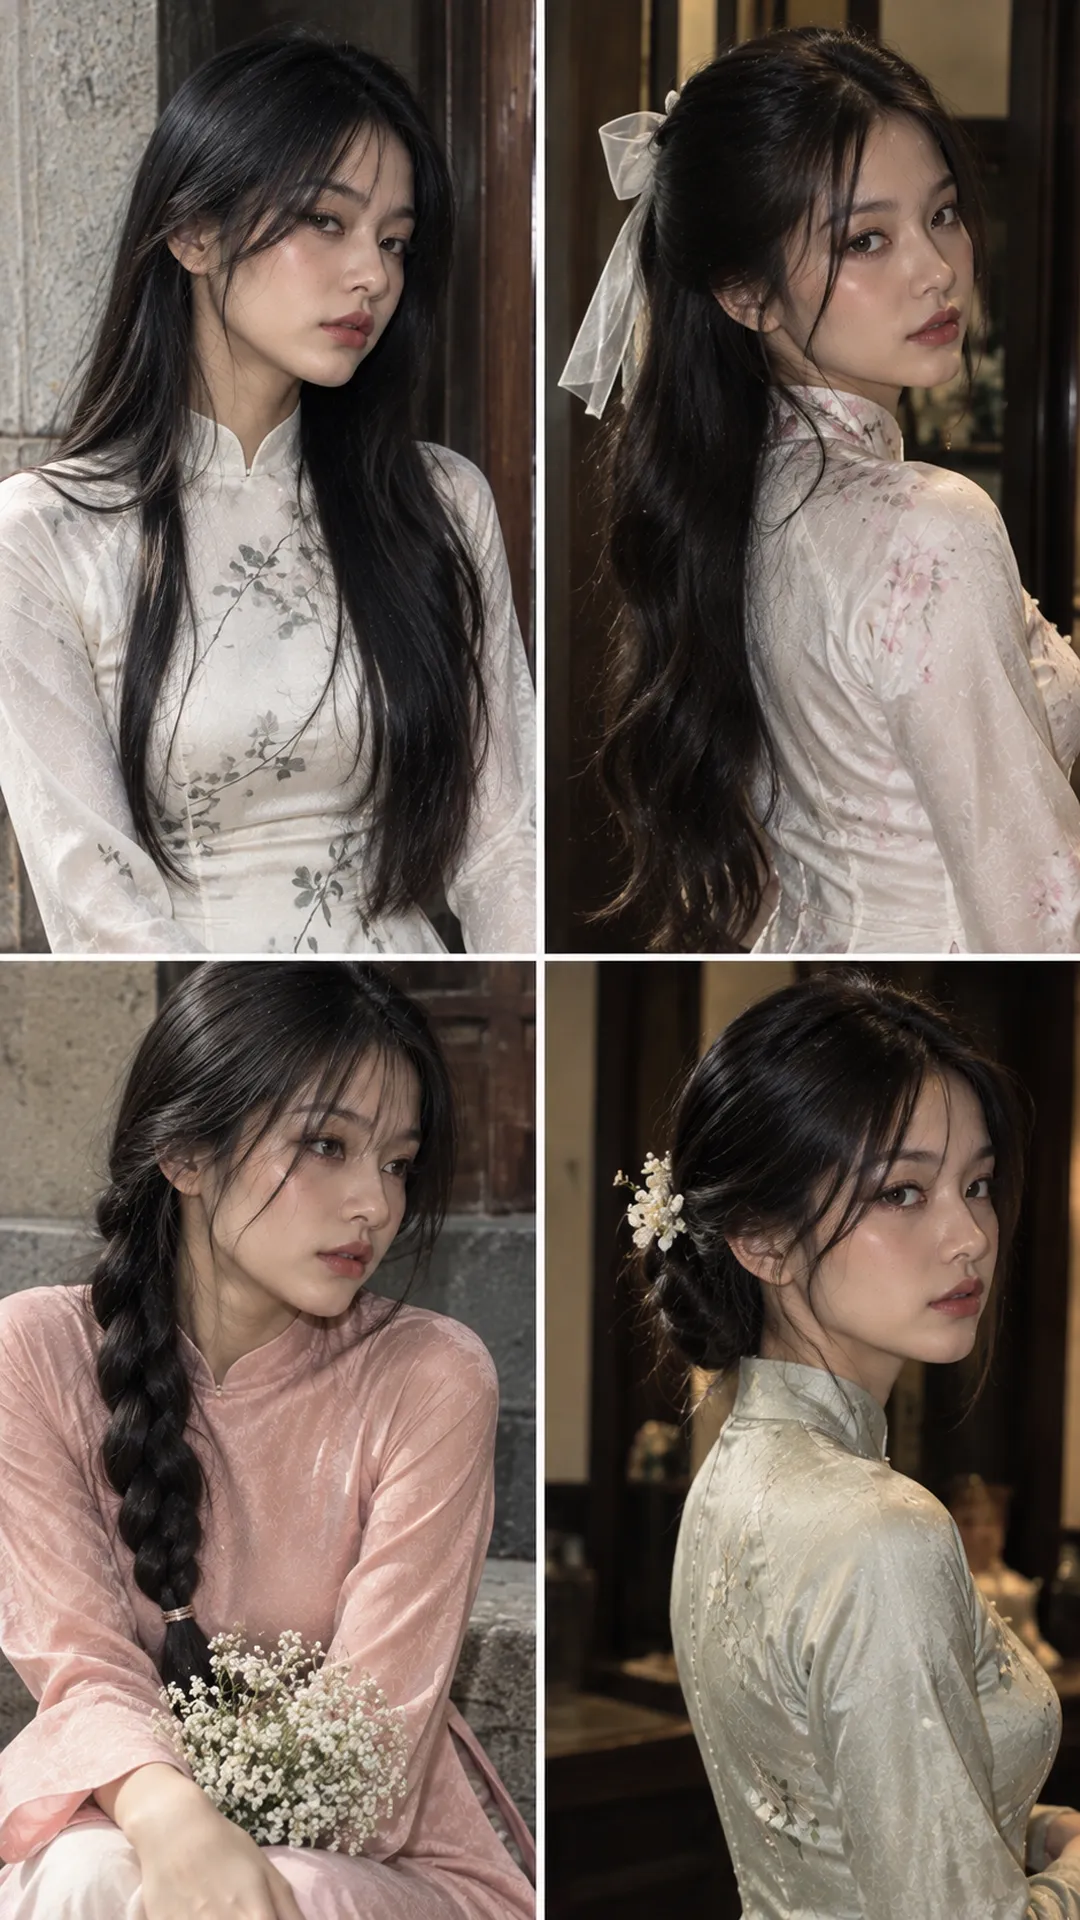
Short hair with an áo dài: preserve the shape instead of forcing a bun
For a pixie or hair above the chin, focus on direction at the crown and ears. Keep the surface neat, define a part or use a small clip on one side. Large volume is not necessary to balance the long garment panels.
Tuck one side of a chin-length bob behind the ear and let the other follow the cut. Slight asymmetry opens the face while retaining the short hairstyle. Check earrings from the side so they do not catch the ends.
For shoulder-length hair, half-up styles are often easier than a full bun. If the lower section is too short, leave it natural and secure only the top. Avoid adding many pins to force a low bun that releases after a few head turns.
A short-hair bun is feasible when hair gathers without tension. Try a small folded tail at the nape and pin loose sections along their natural direction. If it will not stay during walking, an ear-tucked bob or half-up style is quicker and neater.
A step-by-step low bun for an áo dài
A low bun exposes the collar and chest embroidery. Prepare a tie, pins suited to your hair quantity and a mirror for the back. Put the áo dài on first if the neckline is narrow or dressing afterward could displace the bun.
- Part your hair and decide whether to leave face-framing strands. Separate them before tying to avoid disturbing the bun later.
- Gather at the nape, leaving enough clearance from the collar edge that they do not press together when you lift your head.
- Make a low ponytail, twist moderately and wrap around its base. For thick hair, divide the tail in two and pin each part separately to manage the volume.
- Tuck the end underneath and pin at several secure points. More pins are unnecessary if the bun already holds.
- Check the nape, turn both ways, sit and stand. Adjust if the bun touches the collar or an accessory tilts.
For softness, gently loosen the hair above the tie rather than tugging hard at strands after securing. For a sleeker effect, smooth the surface before wrapping. These aims require different handling, not just different amounts of styling product.
Choose the emphasis you want around your face
For a round face, try a slight side part and a little crown height if you want a more vertical effect. If you prefer softness, a center part and face-framing strands work too. Covering the cheeks is not a requirement for beauty.
For a long face, reduce crown volume and retain some width at the sides if you do not want more vertical emphasis. A low half-up style or gently curved bob are options. Face length does not determine whether you may wear a high bun.
With a defined jaw, soft loose hair and a neat bun create different effects: the former softens transitions, while the latter reveals structure. Choose your desired image without labeling natural features as flaws.
If you already have a blunt fringe or expressive haircut, keep it and adjust how the sides are gathered. The guide to women's Goth hairstyles gives examples of shapes and fringes; borrow suitable structure for an áo dài without transferring the entire aesthetic.
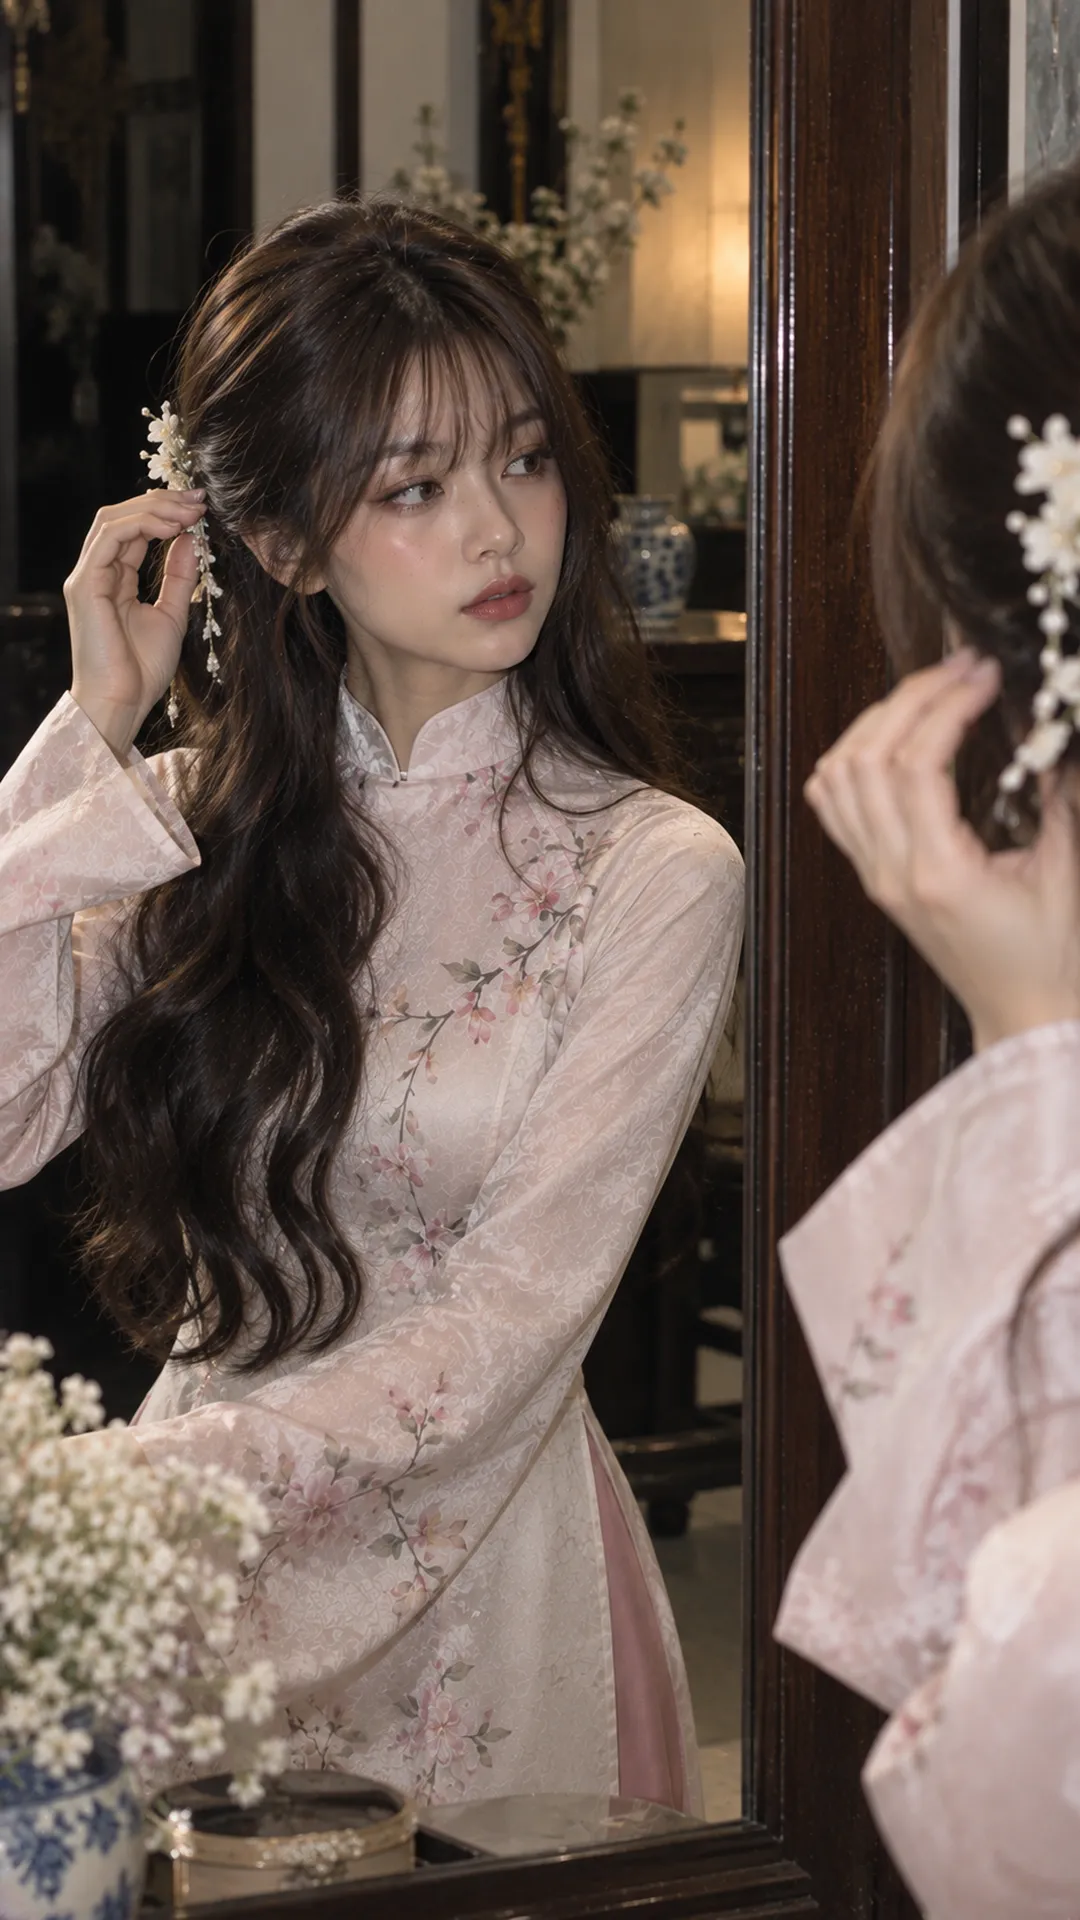
What changes for work, photos or parties?
Work or a long event: prioritize hair that needs little adjustment, such as a low ponytail, small bun or ear-tucked bob. Test bending to write, greeting people and walking beforehand. A style that works only while standing still soon becomes inconvenient.
Outdoor photos: loose hair and side braids offer movement but need a backup for wind. Carry a tie and a few small pins to change styles during the session. Avoid clip positions that look good only from the front but show fully in side shots.
An áo dài for a party: a low bun, polished half-up style or neat bob can all work. Reduce hair decoration with heavily beaded clothing; with a plain garment, a small clip can become the accent. Formality comes from neatness and connection with the outfit, not accessory quantity.
For motorbike travel, the hairstyle must allow correct helmet use. Finish the bun and add decorative clips after arrival if needed. Do not choose a style that requires a tilted or improperly fastened helmet.
Let accessories and hair color support the garment
Choose one main decorative area: hair clip, earrings or collar. If all three are large and bright, the face area becomes crowded. The zoning principle in the guide to expressive women's accessories applies here too, even with an áo dài.
You need not dye your hair for an áo dài. With vivid hair, start with plain clothing and simple accessories; with dark hair, focus on outline and neatness so the style shows. If considering a lasting color change, read the dark aesthetic hair-color guide separately rather than deciding for one photo session.
Before the occasion, photograph the garment with two hairstyles in the same light. Use a moodboard built around details to preserve to record the part, volume, bun placement and accessories. Specific references help a stylist understand your wishes.
Finally, check from behind and while sitting. A bun clear of the collar, a braid that leaves the main pattern visible, clips that do not catch and a fringe needing little adjustment are more useful signs than copying a reference perfectly.