

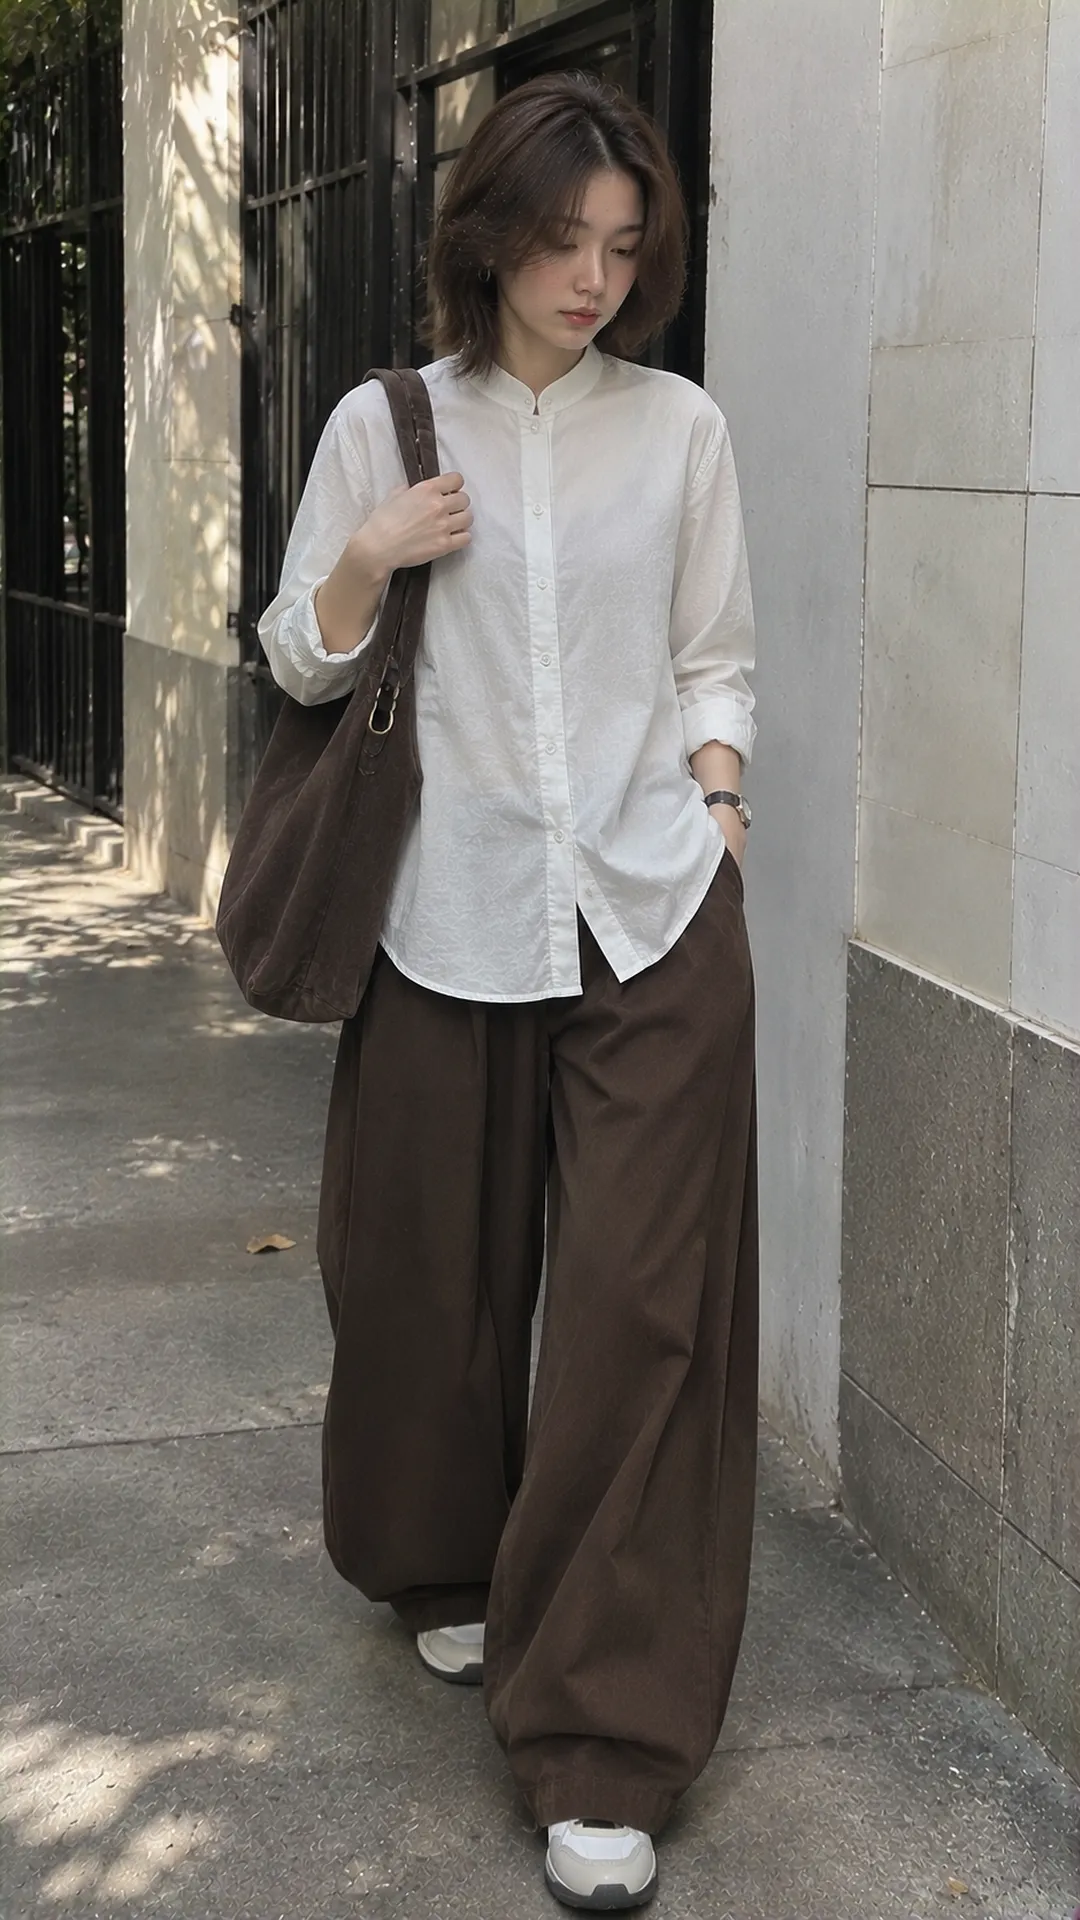
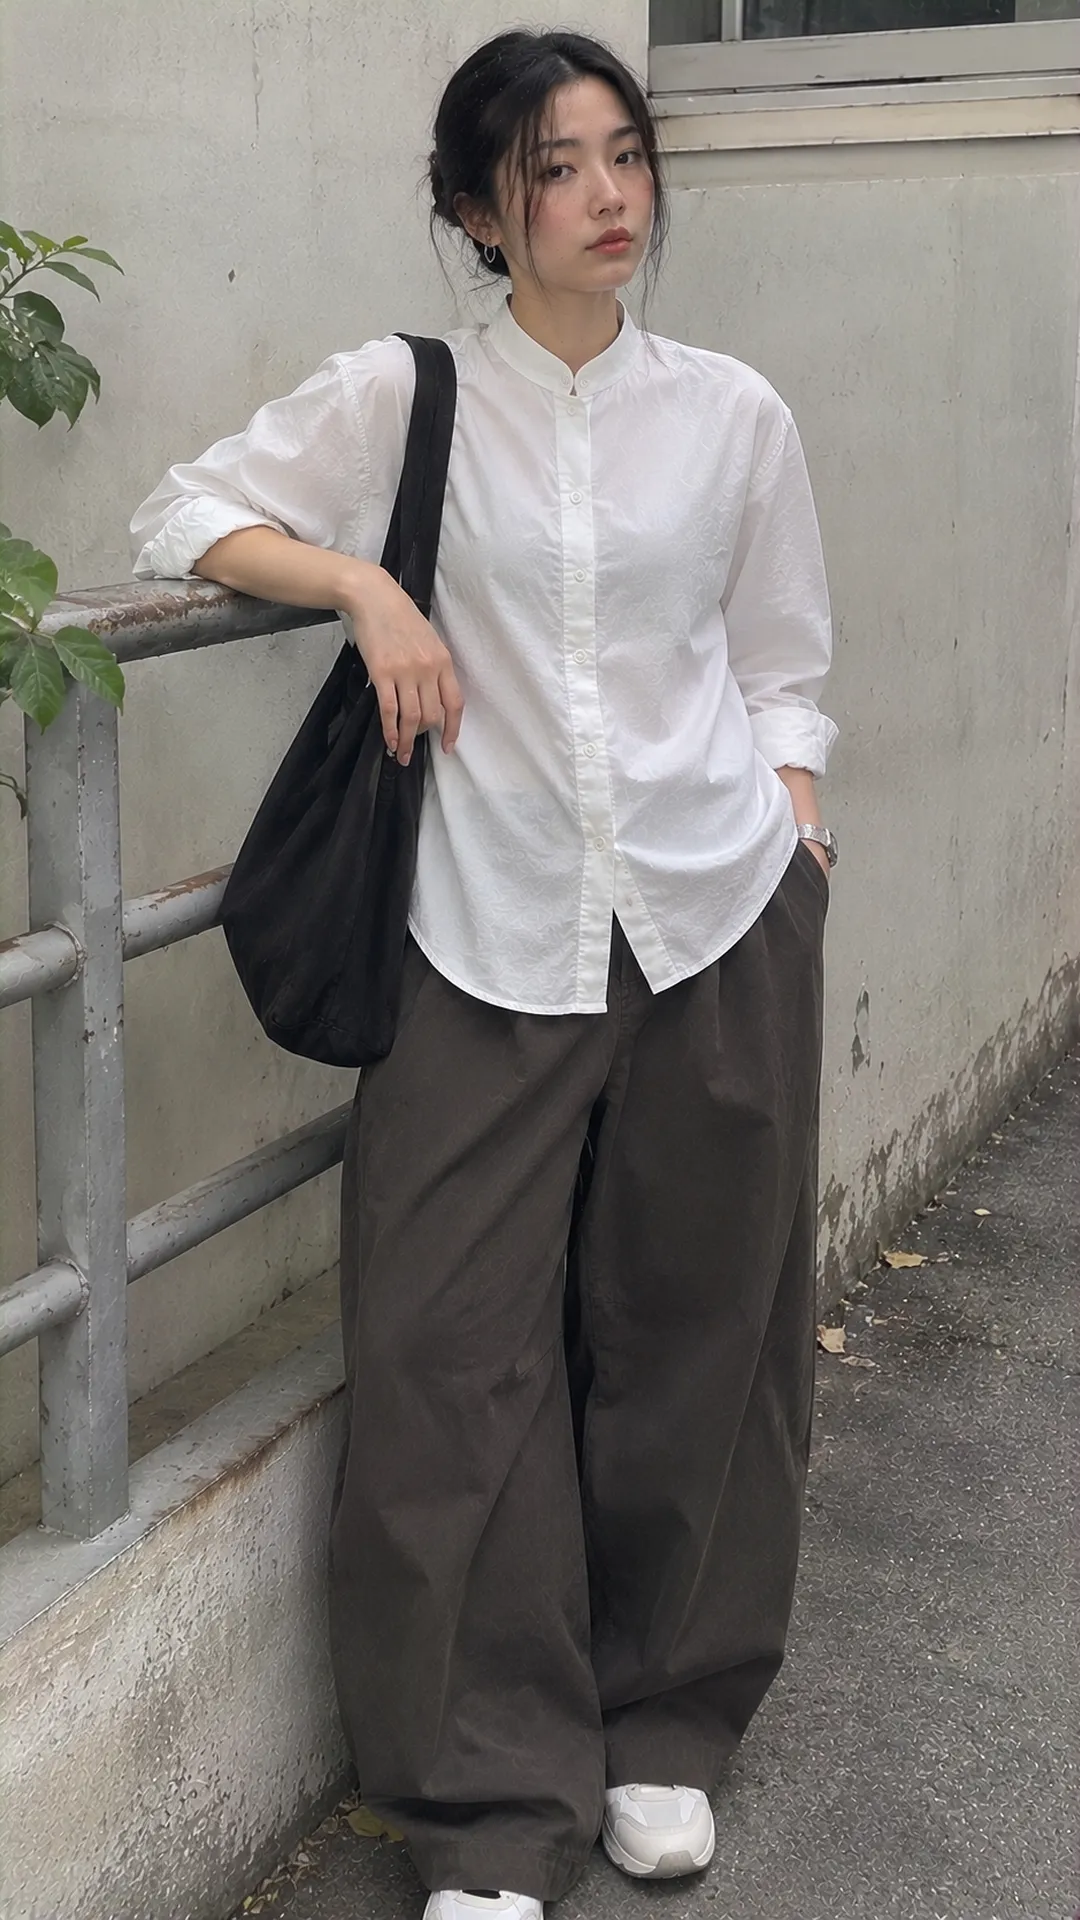
Recognize the collar through actual shape
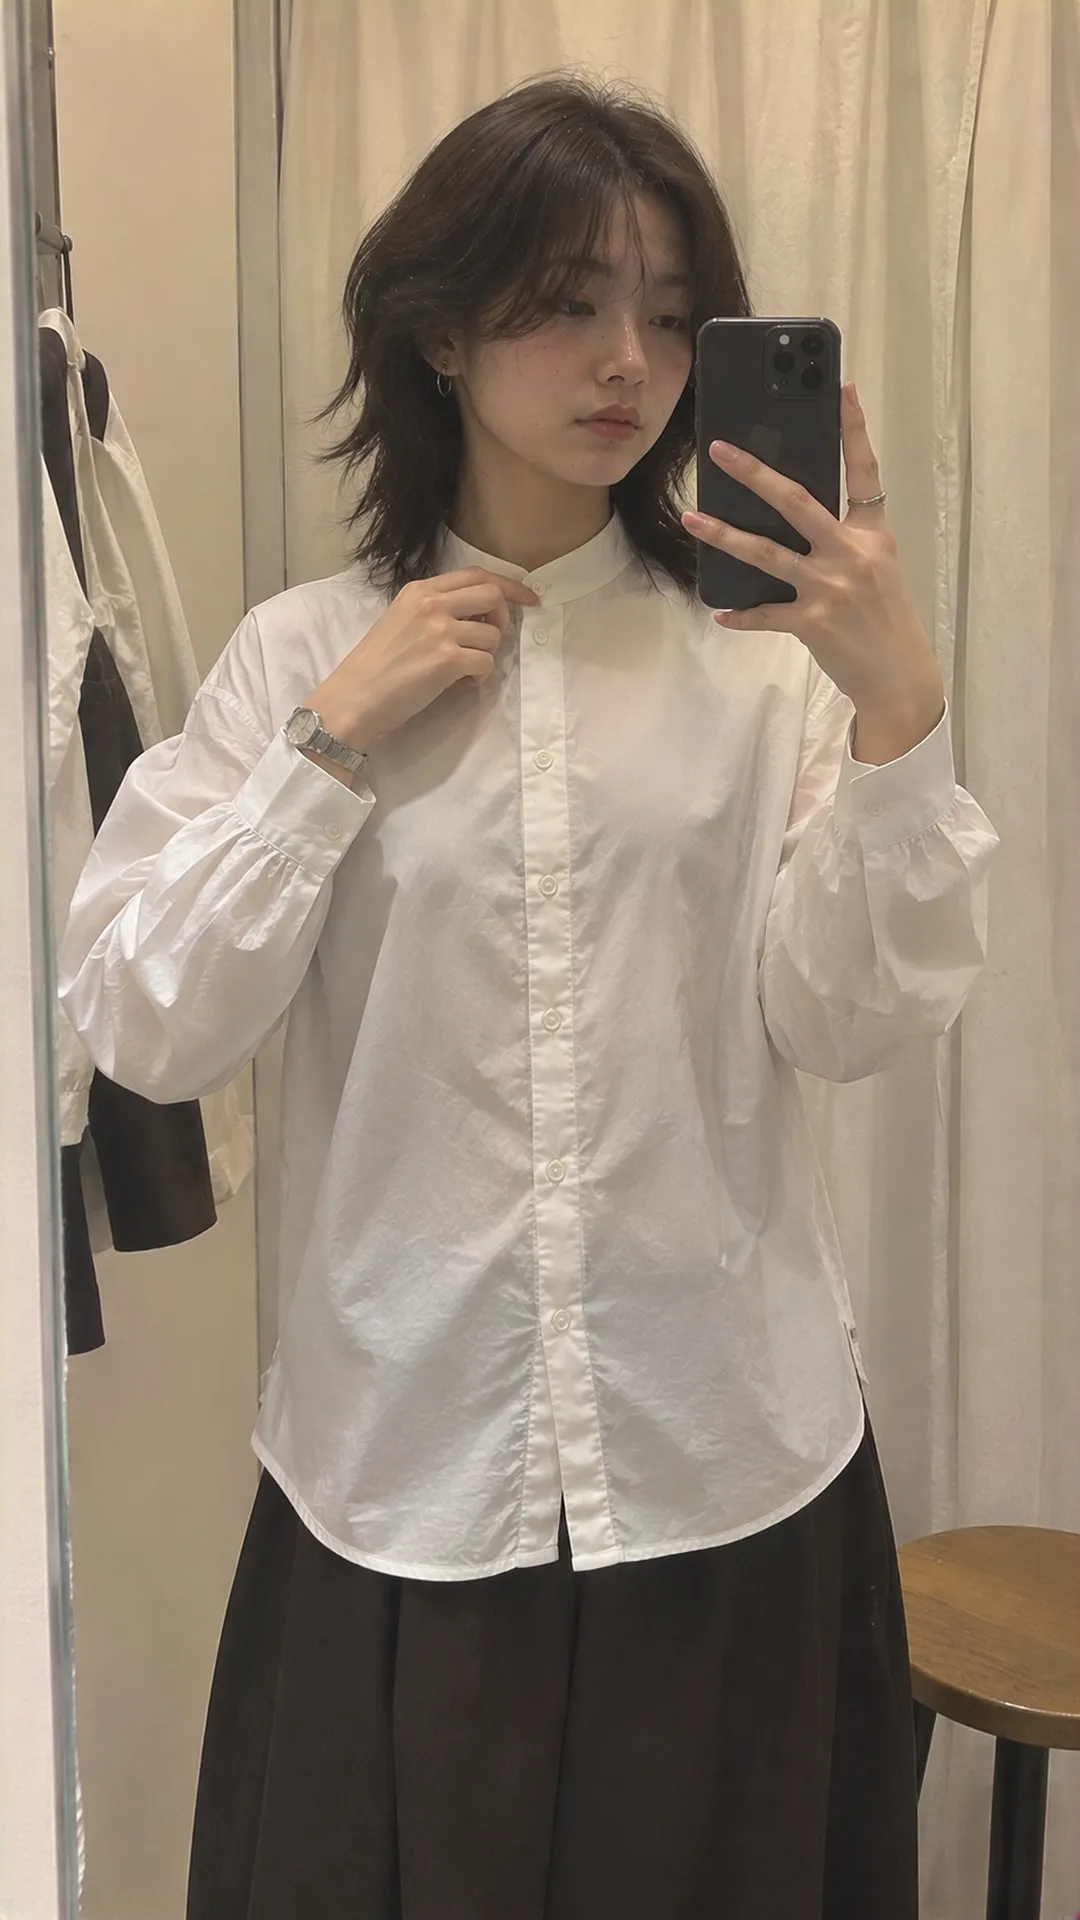
From the front, a standing band replaces two folded points. Ends may meet at the placket or leave a small opening. Listing names vary, so inspect collar, placket and interior close-ups beyond the title.
Tall collars cover more; low ones leave more space. Firm bands retain sharper lines than soft ones near the body. Neither is universal; decide whether you want a sharp or gentle neckline.
Not every top without collar points shares this construction. A round neck without a standing band sits differently. If you want a new neck treatment while retaining a shirt placket, verify those details rather than generic elegance claims.
Try both fastened and open
Fasten as intended, then turn, bend gently and sit. Observe pressure, rubbing or upward displacement. Immediate discomfort cannot be fixed by accessories; try another height, fastening allowance or cut.
If you normally open the top button, test that state. Ends should lie as preferred without unwanted folding or flaring. A shirt attractive only fully closed may not suit your habits; a soft, slightly open collar may be easier.
Shoulders and chest affect collar placement. Body tension can distort placket and neck. Raise arms to inspect lifting. Being able to close the final button alone does not establish size.
Short, long or puff sleeves?
Short sleeves for fewer layers
Short-sleeved band collars pair with straight trousers or jeans for active days. Check sleeve openings while raising arms and carrying a bag. A roomy body with tight sleeves may still feel inconsistently restrictive.
Structured short sleeves already define shoulders, so simplify bottoms. Soft sleeves can contrast with structured trousers or skirts. This concerns clothing volume rather than arm-shape prohibitions.
Long sleeves and practical rolling
Long sleeves create continuity or desired coverage. If rolling, test cuff room and retention before buying. Even or intentional rolls are neater than hurried thick bunches.
Puff sleeves need breathing room near the neck
Standing collars plus puff sleeves already create several upper shapes. Start with simple hair, earrings and bag. Bold accessories remain available, but choose a main area; detailed collar, large sleeves and necklace can obscure one another.
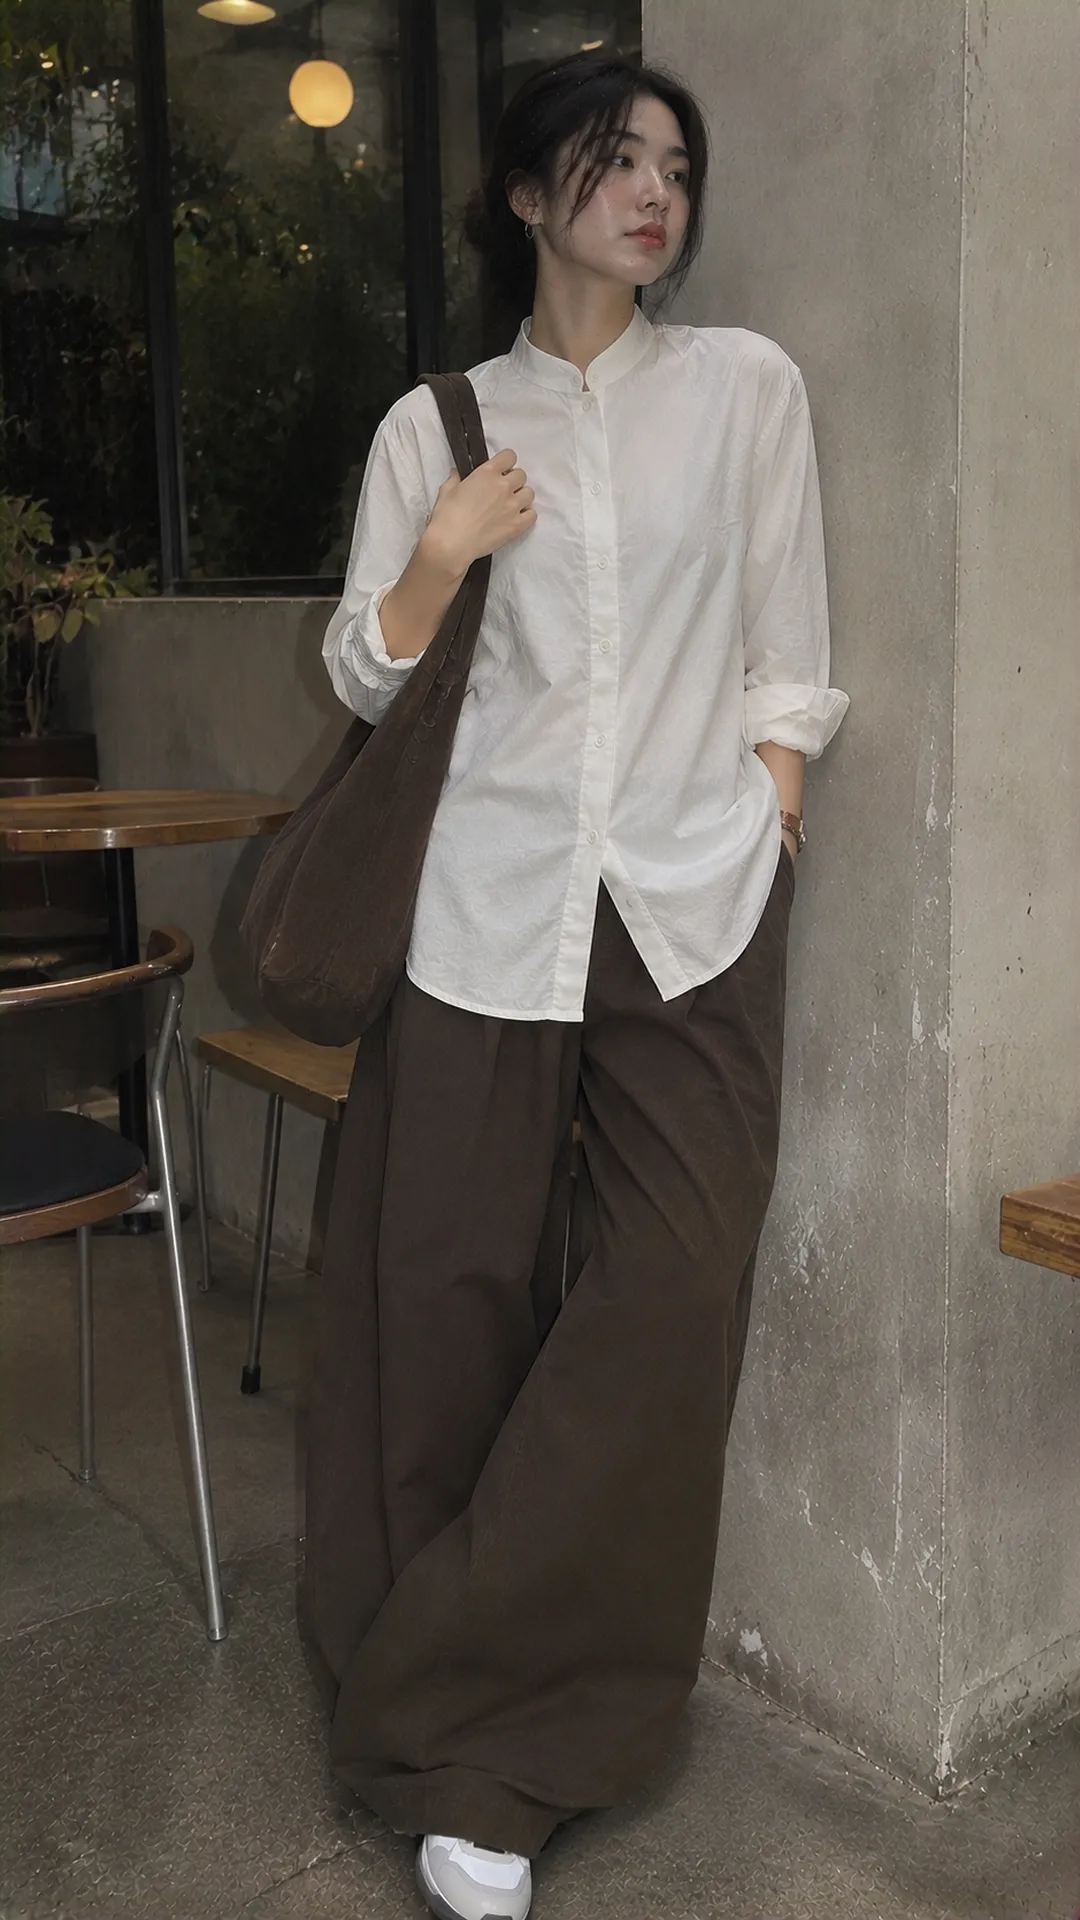
Choose body and hem for intended wear
Neat bodies tuck with less excess. Loose bodies provide ease and volume, but need length assessment. With a long hip-covering hem, compare untucked and partial tucks.
For curved hems, side slits or unequal front and back panels, inspect side views. These shape untucked placement. Do not cut or fully tuck merely because a formula does; the design may need another treatment.
For comparison with other tops, the women's tops styling guide follows cut and use. Keep neck comfort first, then width and length principles complete the body.
Three trouser combinations
Straight trousers: clarify collar and waist
Try ivory with navy or gray trousers. If moderately thin, tuck for clear placket and waistband lines. Choose activity-compatible shoes without requiring heels. With many decorative buttons, a simple belt buckle avoids crowding the middle.
Jeans: relax formality through the base
Pale blue and medium jeans give an easy start. Keep the shirt simple with strong washes or seams. For a neat upper half, end near the waist; for volume, try a gentle front tuck and inspect the side.
Wide trousers: balance length beyond color
Loose shirts and wide trousers can intentionally create volume. Check hem, shoulders and collar for sufficient structure. For rise and leg length, use the women's trouser-shape guide instead of trying to solve everything with top color.
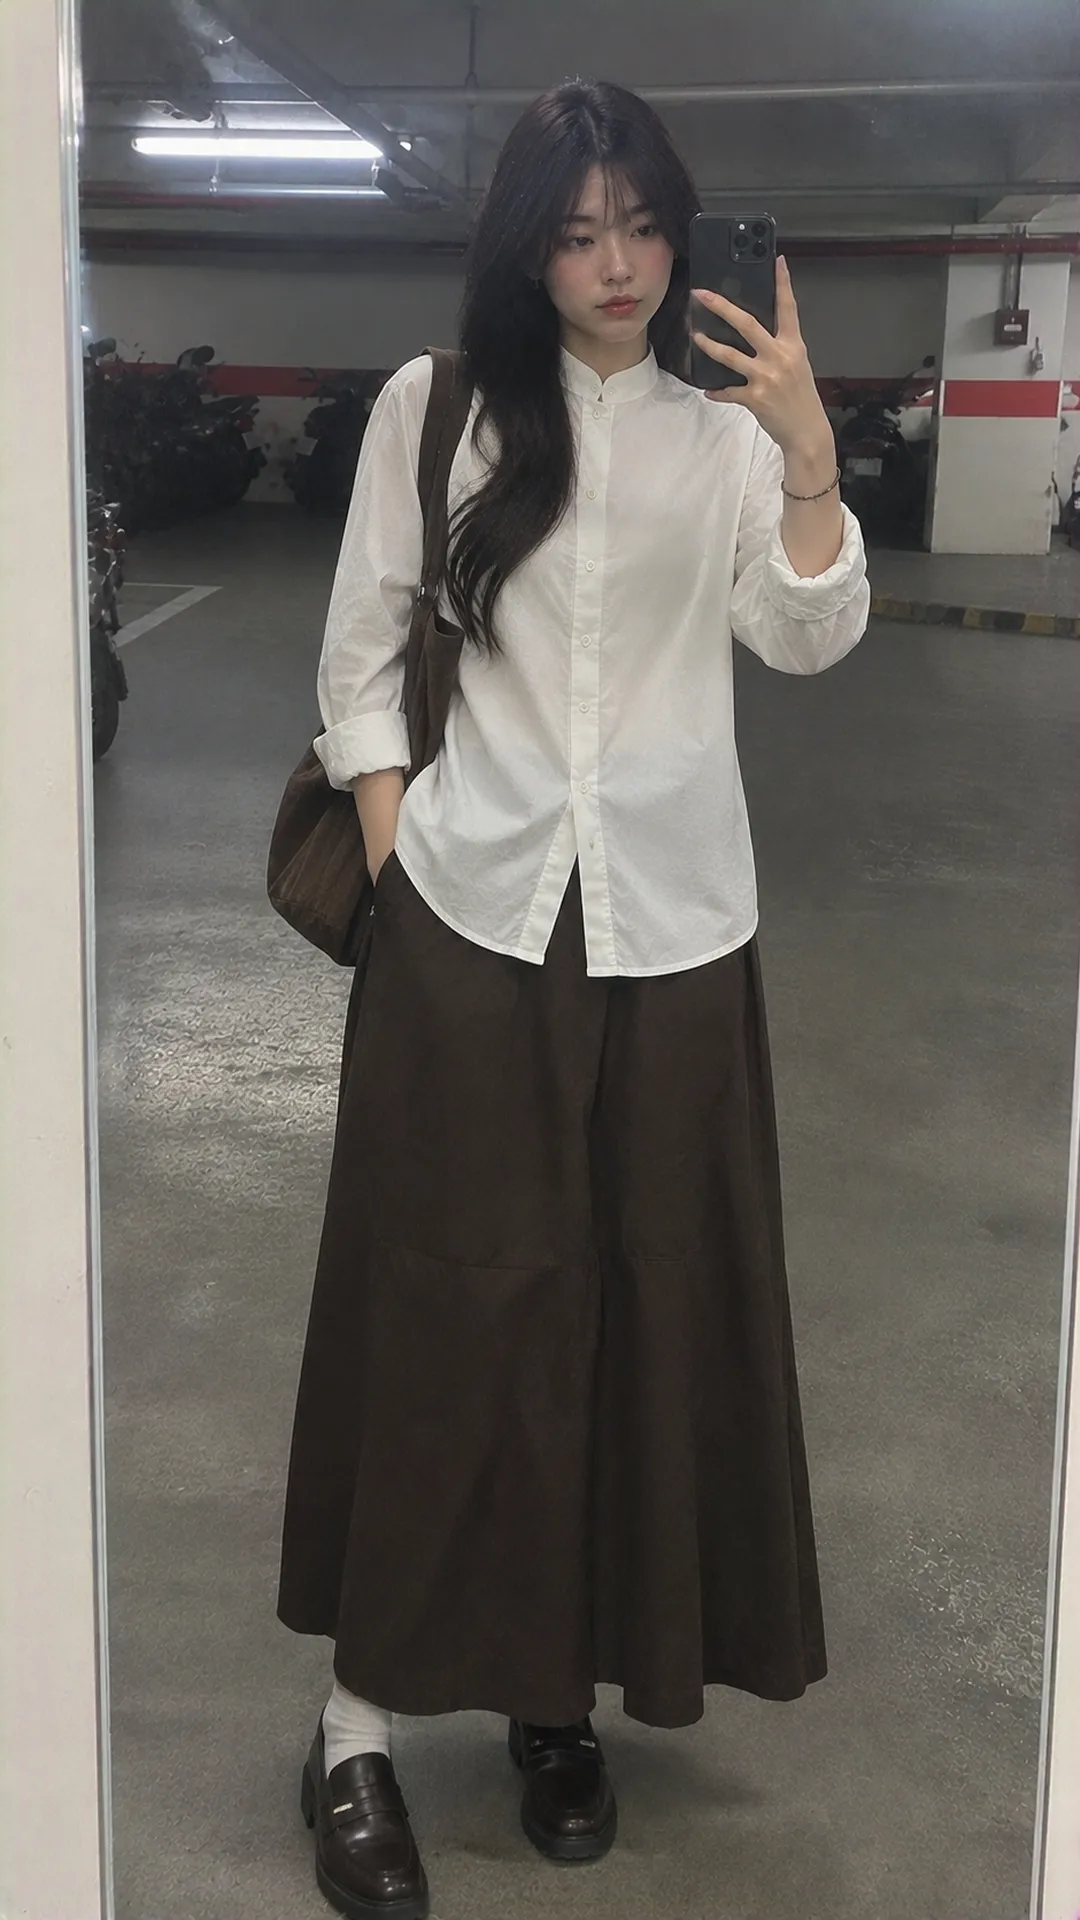
Style skirts while preserving the collar
With A-lines, a neat body or gentle tuck shows waist and flare. Plain shirts support many pleats. The collar already attracts attention, so a large bow, necklace and hardware-heavy bag need not join simultaneously.
With a simple long skirt, a moderately loose shirt can drape softly. Sit to check waist bunching. For length and flare, the dress and skirt guides identify the actual garment.
With a shiny skirt, a matte shirt separates surfaces without another color. With a reflective shirt, simplify below if collar and placket should lead. Photos cannot establish fibers; read composition and care.
Add outer layers without neck bulk
Test outerwear open or closed as intended and with the bag. Another collar creates two neck layers; if bulky, choose open outerwear or another neckline. Both collars need not show fully.
With a vest or open-neck knit, check that outer edges do not push up the band. The placket should lie flat with comfortable shoulders and armholes. Women's layering techniques manage lengths and thickness, especially in humid climates.
Hair, earrings and bags near the collar
With a fully closed neck, keep a necklace small or omit it to reveal the band. Earrings and hair offer alternative emphasis. Tucking one side exposes collar and jewelry but remains optional according to habit and comfort.
A crossbody strap may cross the placket or displace one collar side under weight. Test your actual bag. Plain bags support detailed tops. Accessories need not all be classic simply because the shirt has a standing collar.
Checks before buying and wearing
Include your usual bag and seated work posture. Rubbing only with shoulders forward may involve body and shoulder fit, not just neck width. Record the triggering position for comparisons. Test small neck buttons yourself for daily fastening convenience.
Online, request collar height, fastened circumference, shoulder and chest widths and length where missing. Inspect front, side and inner collar. One model photo cannot establish your fit, especially with the top button always open.
Before wearing, arrange placket, collar and cuffs as designed. Care follows the label rather than one temperature or washing method for all band collars. Once fit works, save two familiar combinations: trousers and a skirt.