

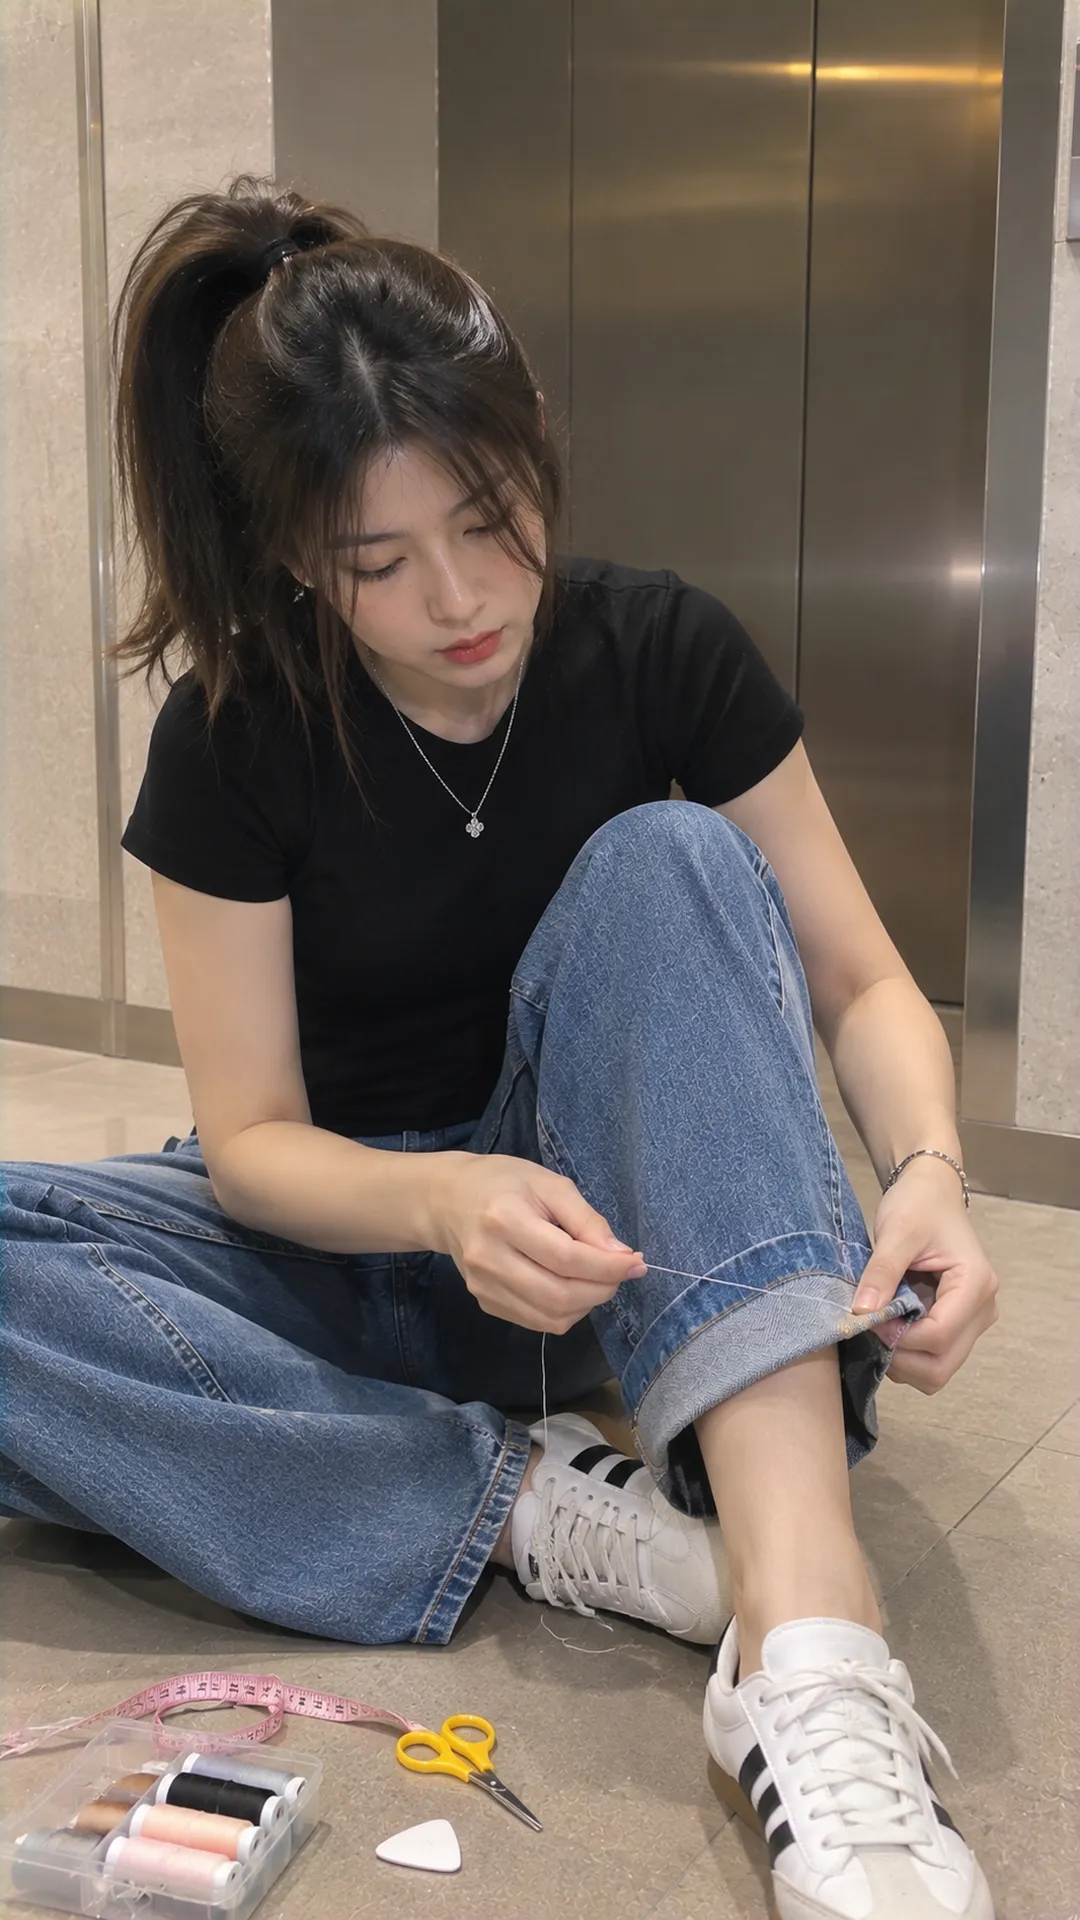
Decide whether to make a new hem or keep the original
A new hem works if you’re happy to replace the original edge. Fold the raw edge inward and secure it with new stitches. Leave enough fabric for the fold below the marked finished length.
Keeping the original hem preserves the thread color, faded edge, and original finish. You shorten the leg above the hem instead of removing it. As Madam Sew’s guide explains, check the difference in circumference between the old hem and where it will join the leg, especially with flares.
If the original hem is torn or shortening the leg will change its shape substantially, a new hem may make more sense. For jeans with ankle zippers, slits, embroidery, or special trims, have someone experienced look at the construction before making changes.
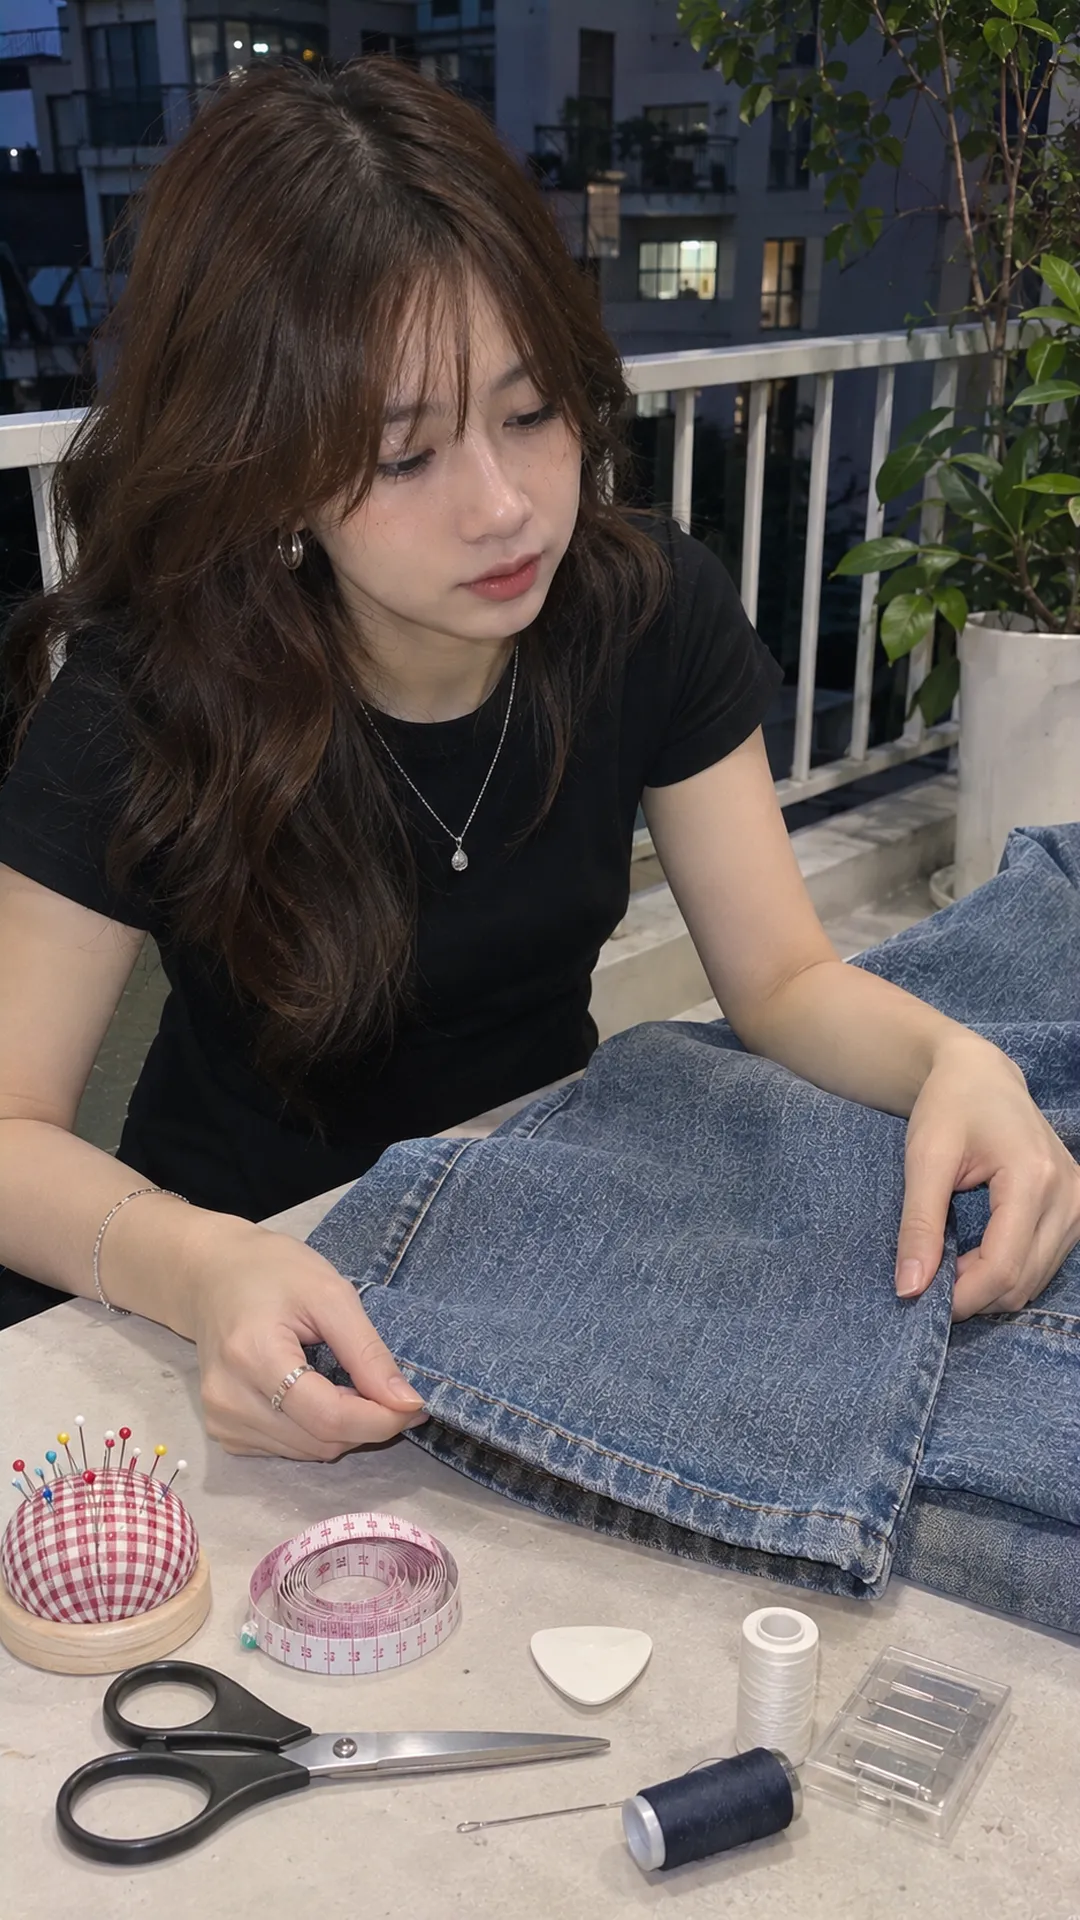
Prepare your tools and jeans
- A tape measure or sewing gauge and tailor’s chalk you’ve tested in a hidden area.
- A hand-sewing needle suited to the denim thickness and strong thread in your chosen color.
- Fabric shears, small thread snips, and a seam ripper if you have one.
- Clips or pins, easy-to-spot basting thread, and a thimble to help push the needle through.
- A flat work surface, good light, and an iron if the care label allows it.
Choose a needle that passes through a sample of the layers without bending or requiring excessive force. Try a few stitches on a section that will be hidden. If the needle keeps bending or barely passes through a side seam, stop and use a different tool or take the jeans to an alterations shop.
Follow the care label and let the jeans dry before measuring. For untreated denim or jeans with special wash requirements, check the care instructions before settling on a length. Avoid using a generic hot-wash method to try to shrink them.
If you’re still considering a return or size exchange, finish the try-on before altering the jeans. Hemming won’t fix a waistband that doesn’t fit or tightness around the hips. Our online sizing guide helps you check the other measurements before changing the length.
Measure the length and mark the cutting line separately
Put the jeans on at your usual waist position and wear the shoes you plan to pair with them. Stand naturally without pulling up the waistband to shorten the legs. Fold the hems to the desired length and look from the front, side, and back. If someone else can mark the hems, it’s easier to keep standing straight.
Mark each leg separately. The amount to remove may differ if the jeans hang unevenly or you want a different fit on each side. Take them off, lay them flat, let the side seams settle into their natural position, and measure again without stretching the legs to match.
Call the finished hemline A. For a new hem, mark cutting line B below A to leave enough fabric to fold. For example, a first fold of 1 cm and a second fold of 1.5 cm need a total of 2.5 cm of fabric below A. Calculate the allowance for the folds you’ve chosen for your jeans.
Mark A and B differently on a hidden part of the fabric. Before cutting, point to the line that will become the bottom edge when you’re done. If you’re unsure which line does what, measure again before reaching for the scissors.
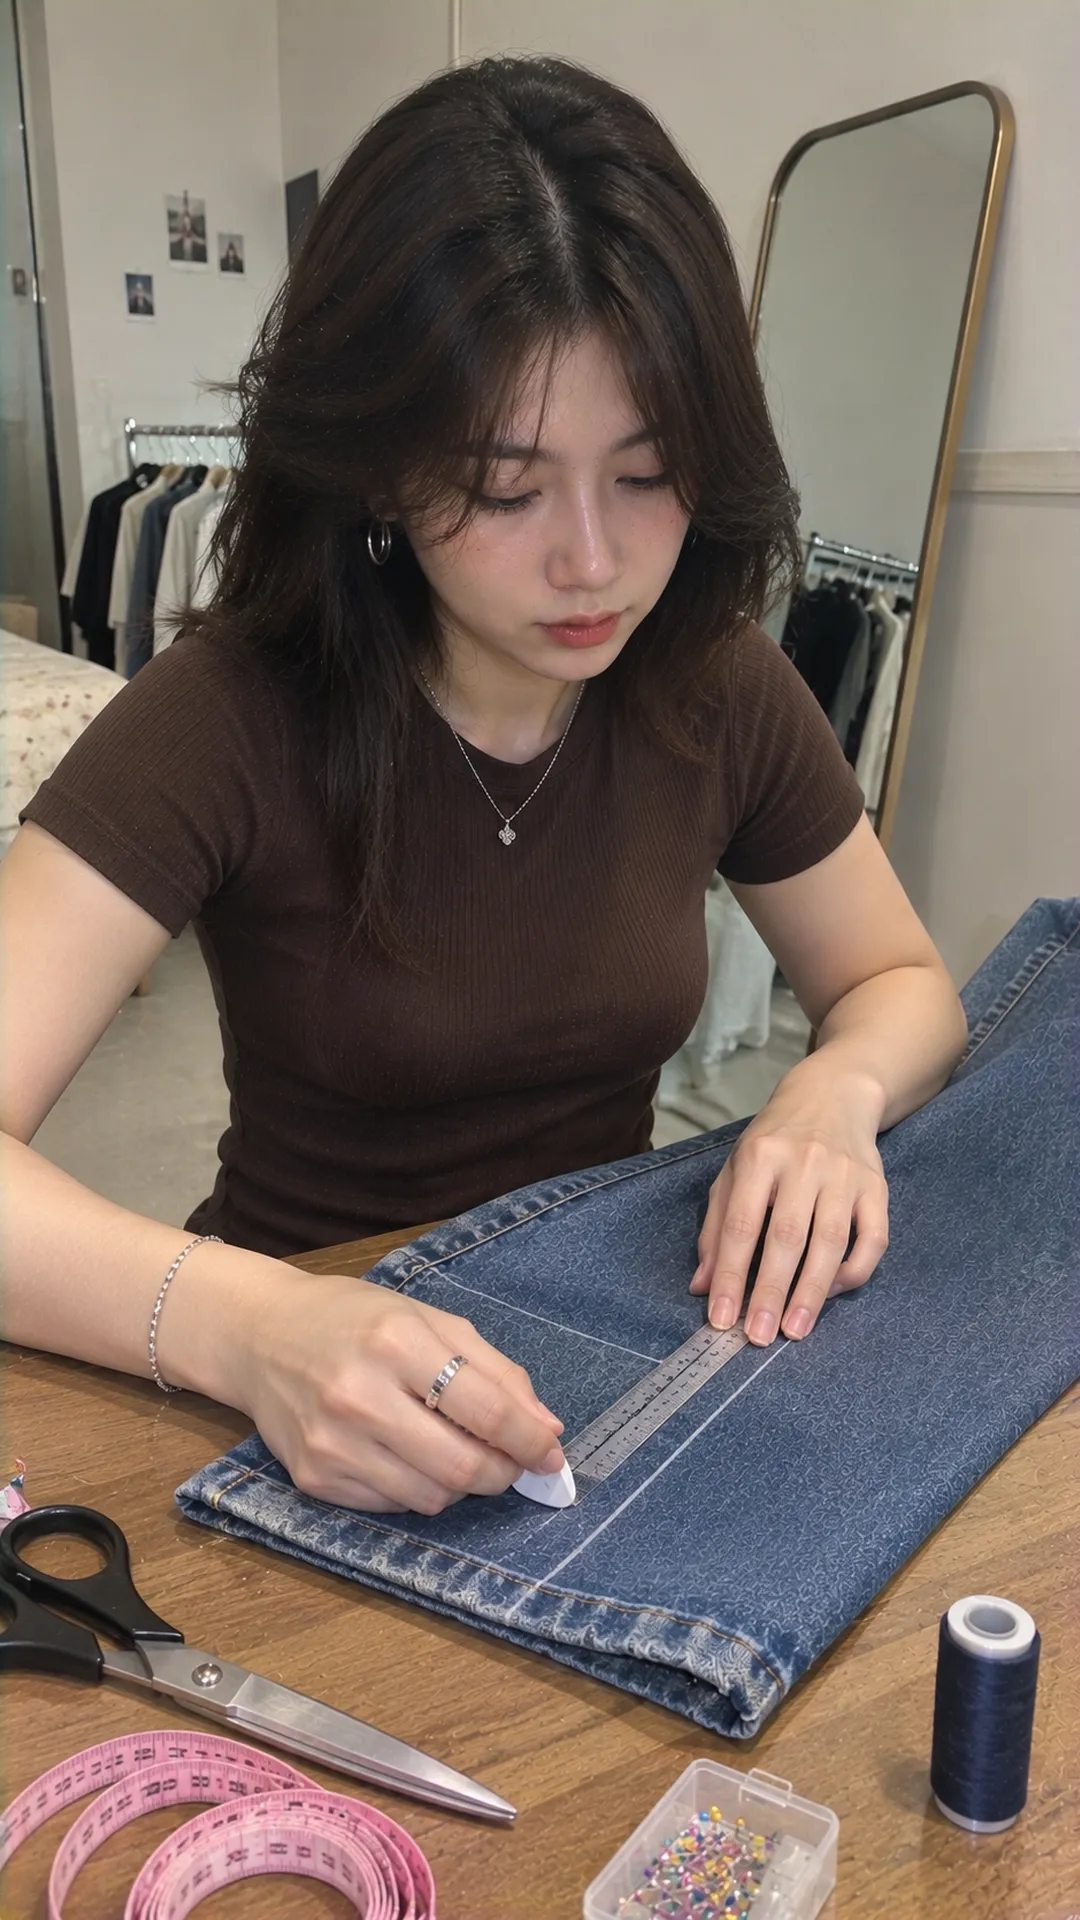
Make a new hem by hand
Fold and baste first
Turn the leg inside out and form the folds using the allowance you calculated. If there’s too much excess to test the folds, mark the fabric and cut only after confirming the length and allowance. Turn the raw edge in, then fold again so the raw edge is enclosed. The WeAllSew guide to hemming jeans also distinguishes marking the hemline from leaving fabric for the fold.
Clip short sections, check the fold all the way around the leg, then baste it in place. Keep the clips or pins from catching both sides of the leg together. You can use one hand inside the leg to control the layers as you sew. Point the needle away from the fingers supporting the fabric underneath.
Sew the hem in place
For a sturdy new hem, try a hand backstitch. Bring the needle up, take it down a short distance behind that point, then bring it up ahead of the starting point. Repeat so the stitches meet. Practice on scrap fabric before sewing around the hem.
Keep the stitch lengths fairly even and the thread snug enough to hold without puckering the denim. Work in short sections and check the outside often. Slow down at thick side-seam crossings and adjust your grip. If the needle doesn’t pass through easily, avoid jerking it through.
Finish with a few small locking stitches on the inside and tuck the thread tail into the fold before trimming it. Remove the basting after checking the main seam. If the label allows ironing, test a suitable heat setting on a hidden area and press the hem in sections.
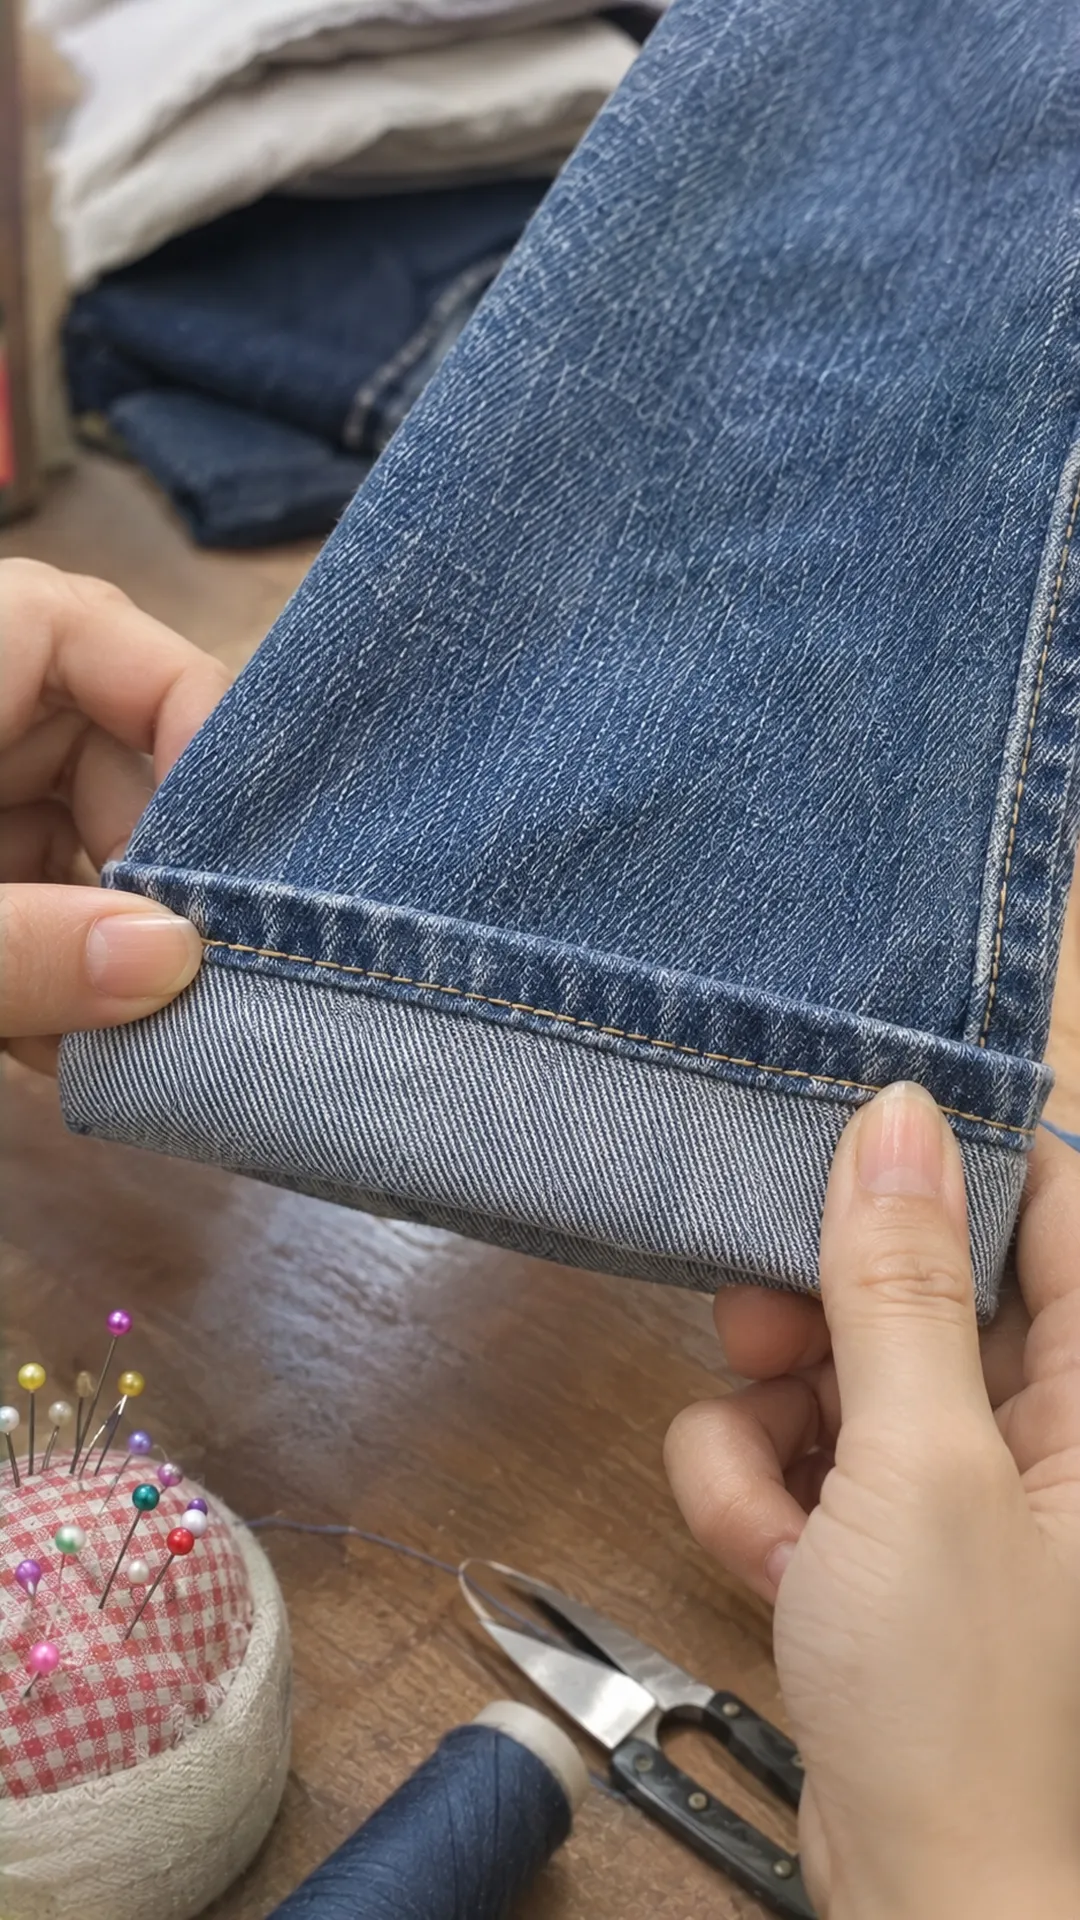
Keep the original hem with a fold above it
This works best with nearly straight legs and a moderate amount of shortening. Leave the old hem seam in place and form a horizontal fold above it so the extra fabric sits inside. Hello Sewing’s guide to preserving the original hem shows how to fold the fabric and sew close to the old hem. Allow extra time to control the layers if you’re sewing by hand.
- Measure the length you want to remove and call it D.
- Turn the leg inside out and form a double-layer fold just above the original hem. The distance from the folded edge to the planned stitching line is D/2. Leave the original hem band out of this measurement.
- For example, to shorten the leg by 4 cm, make the fold 2 cm deep so the two layers take up a total of 4 cm. The original hem should sit below the join when you turn the leg right side out.
- Clip and baste just above the original hem. Keep the stitches from catching the opposite side of the leg.
- Turn the jeans right side out, pull the original hem down, and try them on. Check the actual length before sewing the seam permanently.
If the length is off, remove the basting and check how you measured D, where you placed the join, and whether the old hem band was included by mistake. The calculation depends on measuring the fold itself. The try-on is your last check before making the seam permanent.
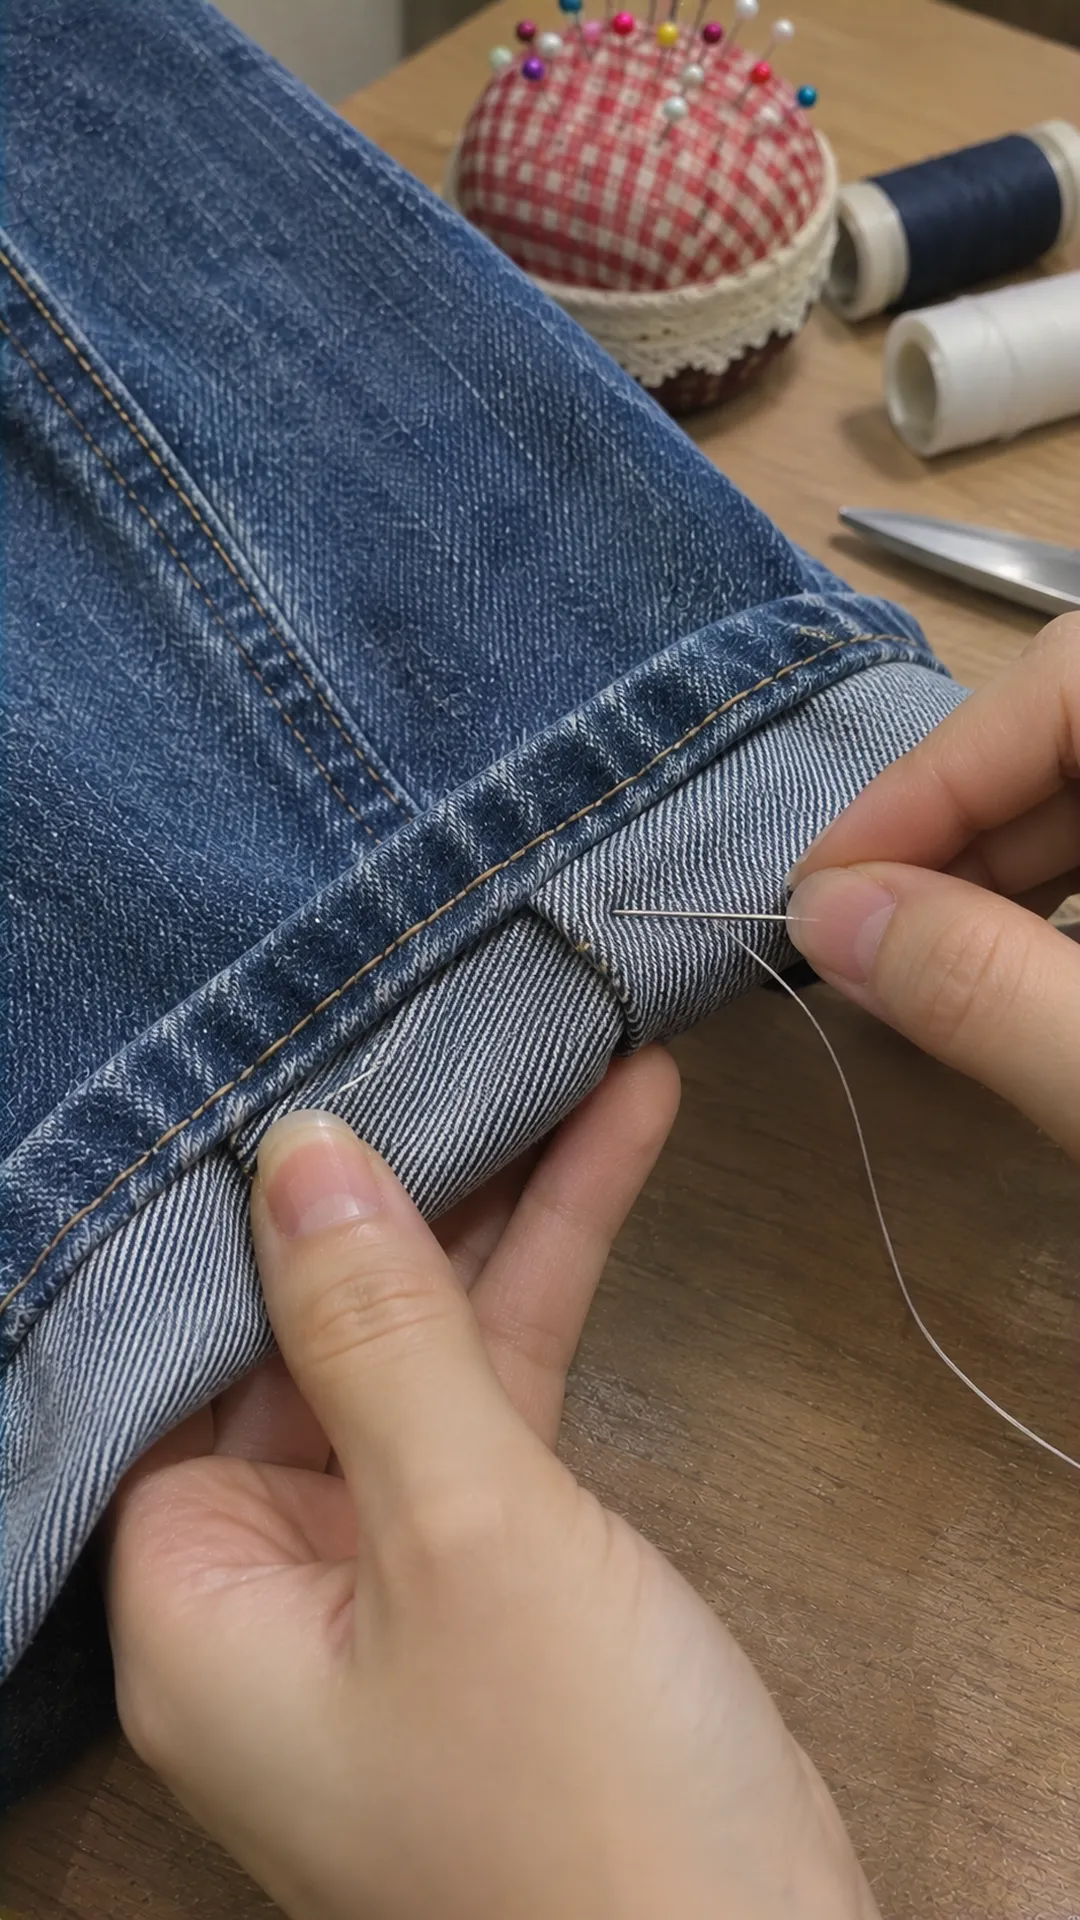
Once the length is right and the join lies flat all the way around, stitch along the basting line with a suitably strong stitch. Leave the excess inside if it isn’t bulky and stays out of sight. Tack it lightly to the inside seam if needed. If you have to trim it, leave a seam allowance and finish the raw edge so it won’t fray.
The new join may still be visible up close. If the fold is too thick, the leg flares, or the side seam pulls out of line, ask a tailor to assess the jeans before adding more stitches to force the fabric flat.
When to use a blind hem stitch
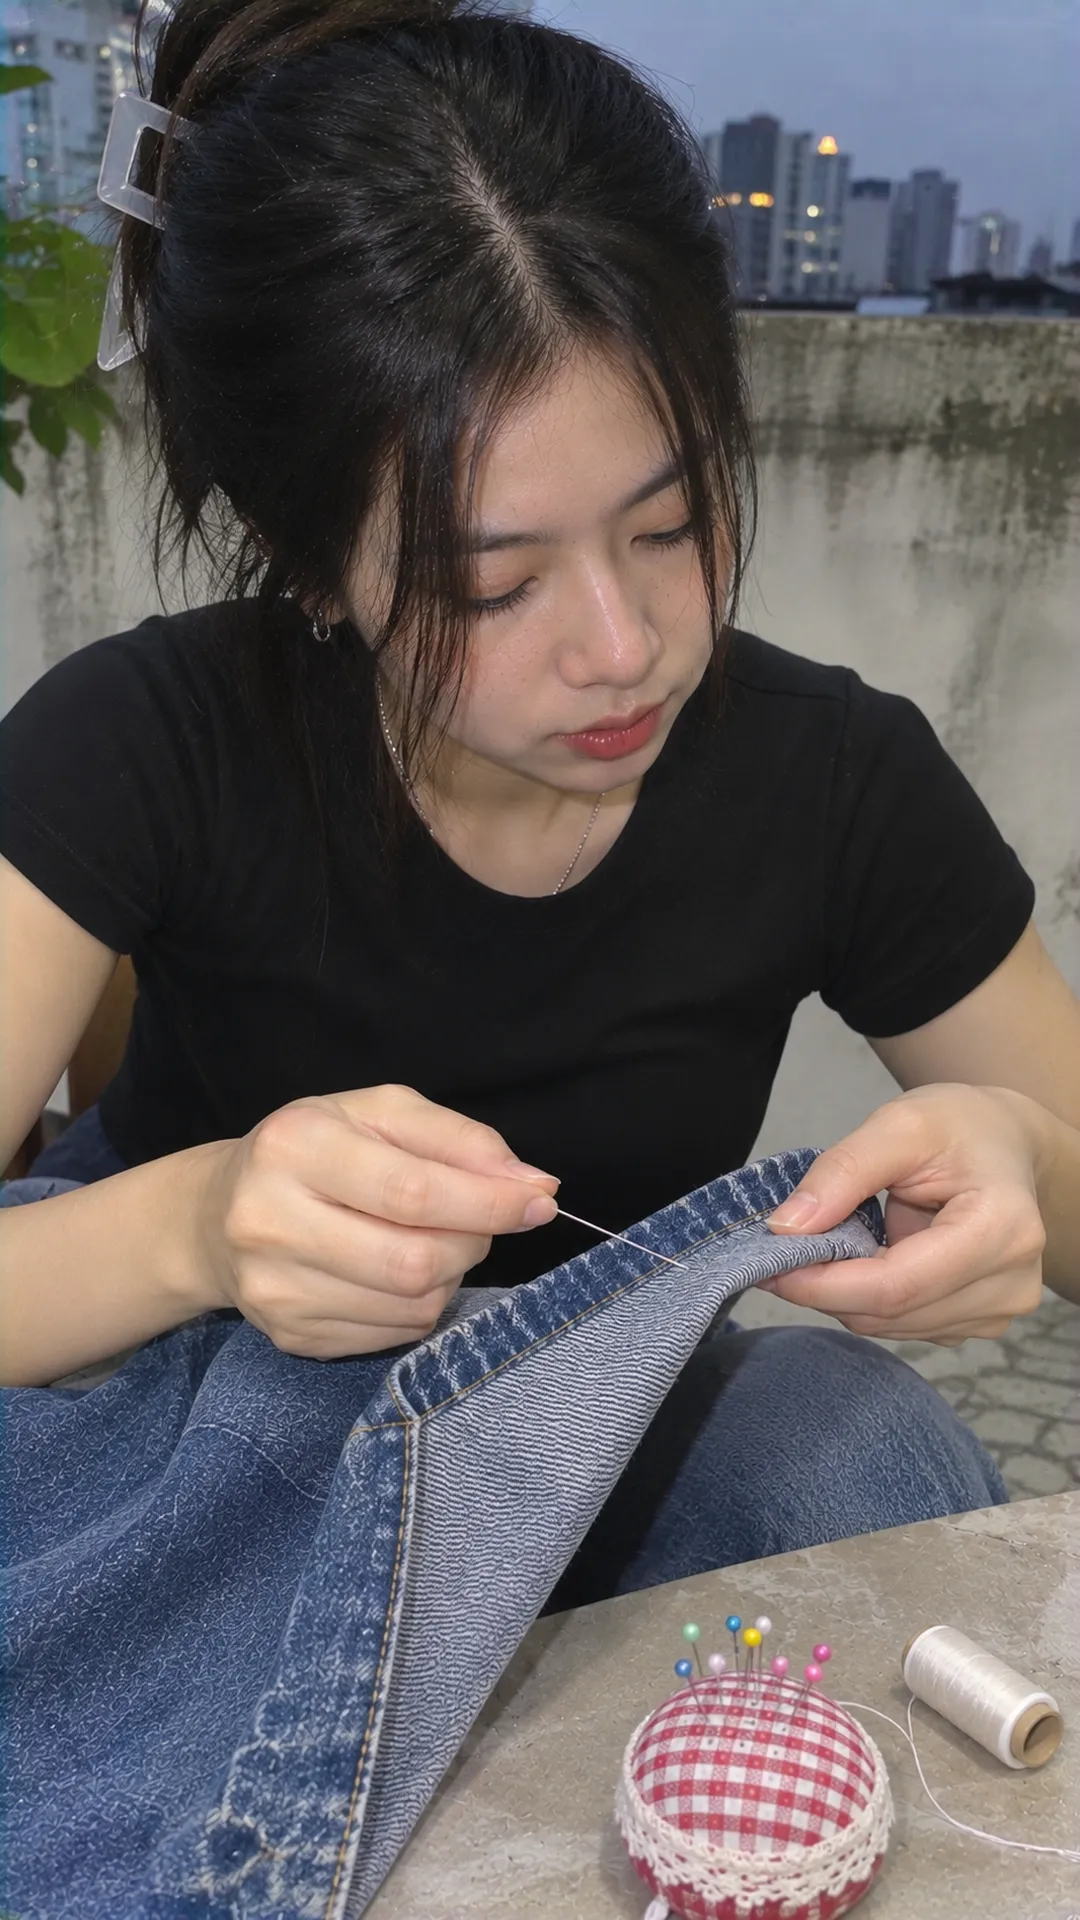
A blind hem stitch holds the inside edge of a hem while keeping the stitching subtle on the outside. In Mood Fabrics’ hand-sewing guide, the needle alternates between passing through the fold and catching a few threads from the wrong side of the main fabric. Keep the thread tension even to avoid puckering.
Hide the knot in the fold. Catch a tiny amount of fabric on the wrong side of the leg, then slip the needle back into the fold and move forward a short distance. Repeat and check the outside after a few stitches. Large visible dots can mean you’re catching too much fabric or using thread that contrasts too strongly.
For a join that takes strain, such as the seam above a preserved hem, choose a stitch strong enough for that construction. Thick denim and hems that rub against shoes may need sturdier stitching you can see from the outside. A blind stitch reduces visibility to a degree that depends on the fabric.
Check the result and decide when to see a tailor
Lay the jeans flat to compare the hems, then put them on with the shoes and walk around. Check that the edges don’t curl, the seams don’t twist, the inside doesn’t rub, and there are no gaps in the stitching. Look at the back too. A hem that looks right from the front can still catch on your heel.
If the hem puckers, check thread tension and circumference before pressing. If the sides differ, revisit your marks and where the waistband sits. A mismatch between the original hem and the circumference at the join comes from the cut of the leg. Pulling the thread tighter won’t fix it.
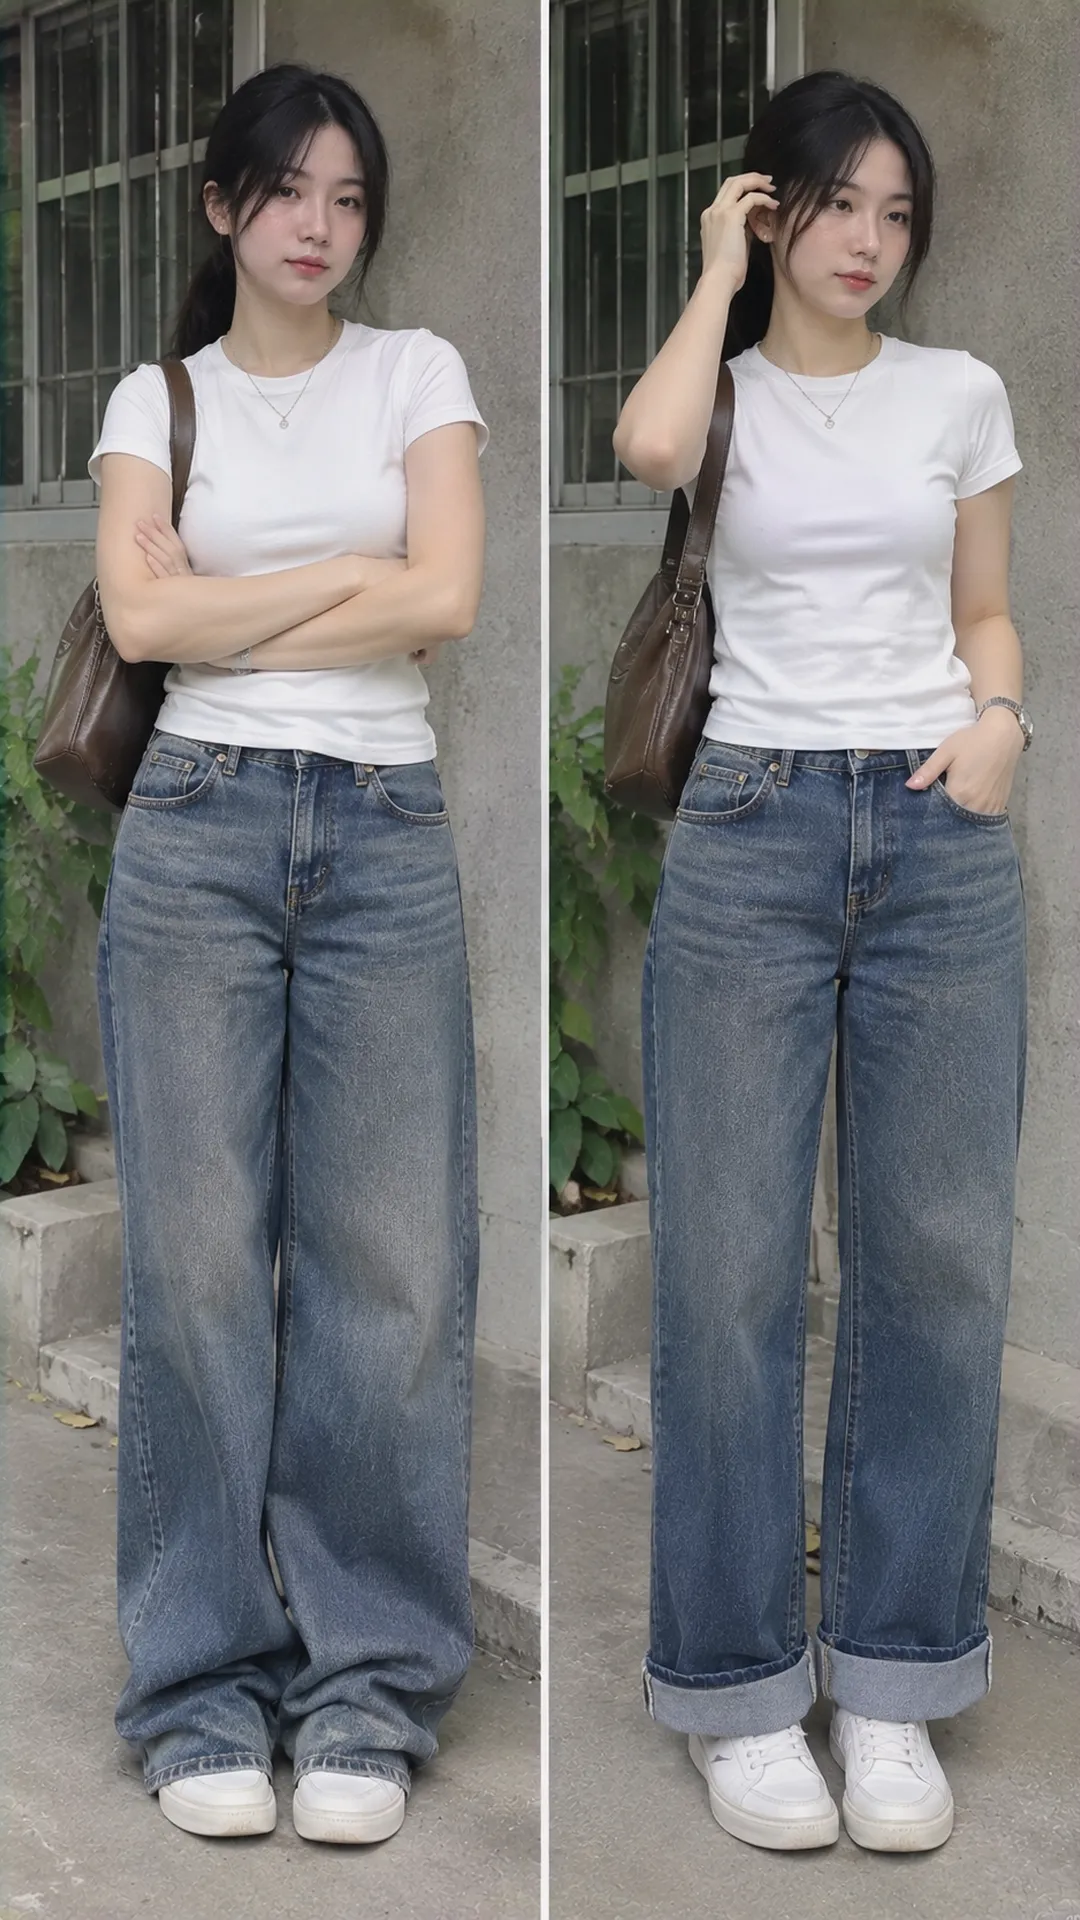
For flares, very thick denim, or a pair you especially want to preserve, bring your shoes to the tailor and say if you want to keep the original hem. Ask about the method before anything is cut, especially if you might want to let the hem down later. A good alteration can mean knowing when to get help.
After hemming, try the jeans with the tops you normally wear with them. A shorter hem may make the transition from jeans to shoes more visible. Our outfit guide by garment can help you look at the whole outfit before deciding whether to alter anything else.
The best length also depends on the cut and shoes. Our women’s pants guide covers proportions, while our alt-fashion shopping guide helps you think through sizing and how long you’ll use an item. The right hem should make the jeans easier to wear as well as shorter.